What even is a terminal?
Back when computers were still in their infancy, the “computer” usually was a big cabinet in the middle of a room. They typically exposed some internals via a front panel with lots of knobs and ports. Users would connect a terminal device (sometimes called a teletype or a TTY) to this front panel in order to input text and print the corresponding output.

In the 1970s when microcomputers like the Apple I started becoming more mainstream, displays and keyboards started to be integrated into the computers themselves. The rise of the graphical user interface meant that the displays and keyboards weren’t just used for the terminals themselves but for various other graphical programs too.
At some point, smart computer people thought “wait a minute, we can make a graphical program that just emulates what a terminal would have done anyways!” and thus the terminal emulator was born. In these emulators, the wires of the traditional TTY are replaced with pairs of file descriptors (an abstraction for a stream of bytes) known as the PTY (short for pseudo-TTY).
Importantly for Replit, the PTY doesn’t use a serial port to connect the TTY to the computer which means we can operate a PTY remotely over a network!
Replit, in its most simple form, allows you to access a remote development environment in your browser. Because interfacing with the terminal is such a critical part of any development workflow, we’re really invested in getting this right while also keeping it snappy and fast.
Improving the Shell experience
To talk about how we improved the shell experience, we need to give a bit more context about some of Replit’s infrastructure.
At its core, we need some way for our workspace in the browser to send commands to do stuff inside the remote computer which runs as a Docker container. We currently have a process called pid1 which sits inside the container and translates requests from the workspace into actual actions inside the container. For example, opening a new Shell tab should be translated to starting a new PTY session. This Shell tab is powered by a shell service in pid1 that does all the fun terminal things (like doing the low-level system calls to spawn the pseudo-TTY).
We’ve recently started work on a successor to pid1 simply called pid2 to increase our internal development velocity and this has given us a chance to reduce the amount of processing overhead we did in pid1.
There were a few technical changes that helped in improving the performance:
- No more string-byte conversions: the old protocol didn’t support raw bytes for historical reasons, and we needed to do a lot of converting between UTF-8 encoded strings and bytes which cost us some performance.
- Avoiding stdio: we have a container manager called conman which manages the lifetime of the Docker containers which serve as the actual “computer” that the workspace interfaces with. When conman receives a connection from the workspace, it shuttles the commands and their responses between pid1 via a stdio pipe. pid2 avoids this by having conman delegate the responsibility of handling WebSocket connections to pid2 itself by passing the file descriptor of the WebSocket server to pid2.
- Avoiding protocol introspection: all the pid2 code paths that are not pid2 itself don’t ever try to introspect or unmarshal the bytes into anything, it always just does a raw byte-for-byte copy if we need to do any sort of shuttling or proxying between things. This is much better than pid1 where we had quite a few layers where we unmarshalled bytes to large structs, did some processing magic, and then remarshalled back to bytes over and over.
- Zero overhead principle: pid1 has some extra logic to handle backpressure for message broadcasting so that it prevents slow clients from slowing down fast clients from receiving other messages. Even if a service (like Shell) doesn’t use broadcasting at all, it still paid the performance penalty here with another layer of channels and select (which adds more expensive futex calls!). pid2 leans on library design here to ensure that engineers write performant code by default and must opt-in to more expensive things.
Making these changes led to a noticeably smoother shell experience.As a part of this migration, we also created @replit/ruspty which is a library that allows us to create PTYs from within JavaScript. Originally, we created this instead of just using node-pty because early versions of pid2 used Bun which didn’t have great support for Node-API native addons at the time. However, even after we migrated pid2 back to Node.js, we kept @replit/ruspty around to let us retain access to this important level of the stack. We create and spawn PTYs from a lot of different places and having deep granularity into the system-call level details allows us to be flexible (for example, adding non-interactive mode to the PTYs which node-pty doesn’t support). As a rough proxy, the old shell took around 67 seconds to print out Shakespeare’s complete works whereas now it takes ~0.34s instead!
Shell speed comparison
Making the Shells persistent & multiplayable
Replit is multiplayer-native for the most part: users joining the same Repl can see each other present in files and have synced Console results. However, Shells have remained specific to each user for a long time.
Part of the reason was the engineering effort, but another, more daunting part, was the UX. In multiplayer, each user has their own layout. Files create a stable “anchor”, from which the users can reason about where everyone “is”, but Shells, at least until now, were anonymous, and that presented a challenge:
- How can I join my friends’ Shell session, and how can I make a new Shell without breaking my friend’s workflow?
- How do we render these Shell sessions, if each user can have differently-sized panes?
The improved iteration speed of working in pid2 gave us the confidence that we would be able to tackle these problems in a reasonable time frame.
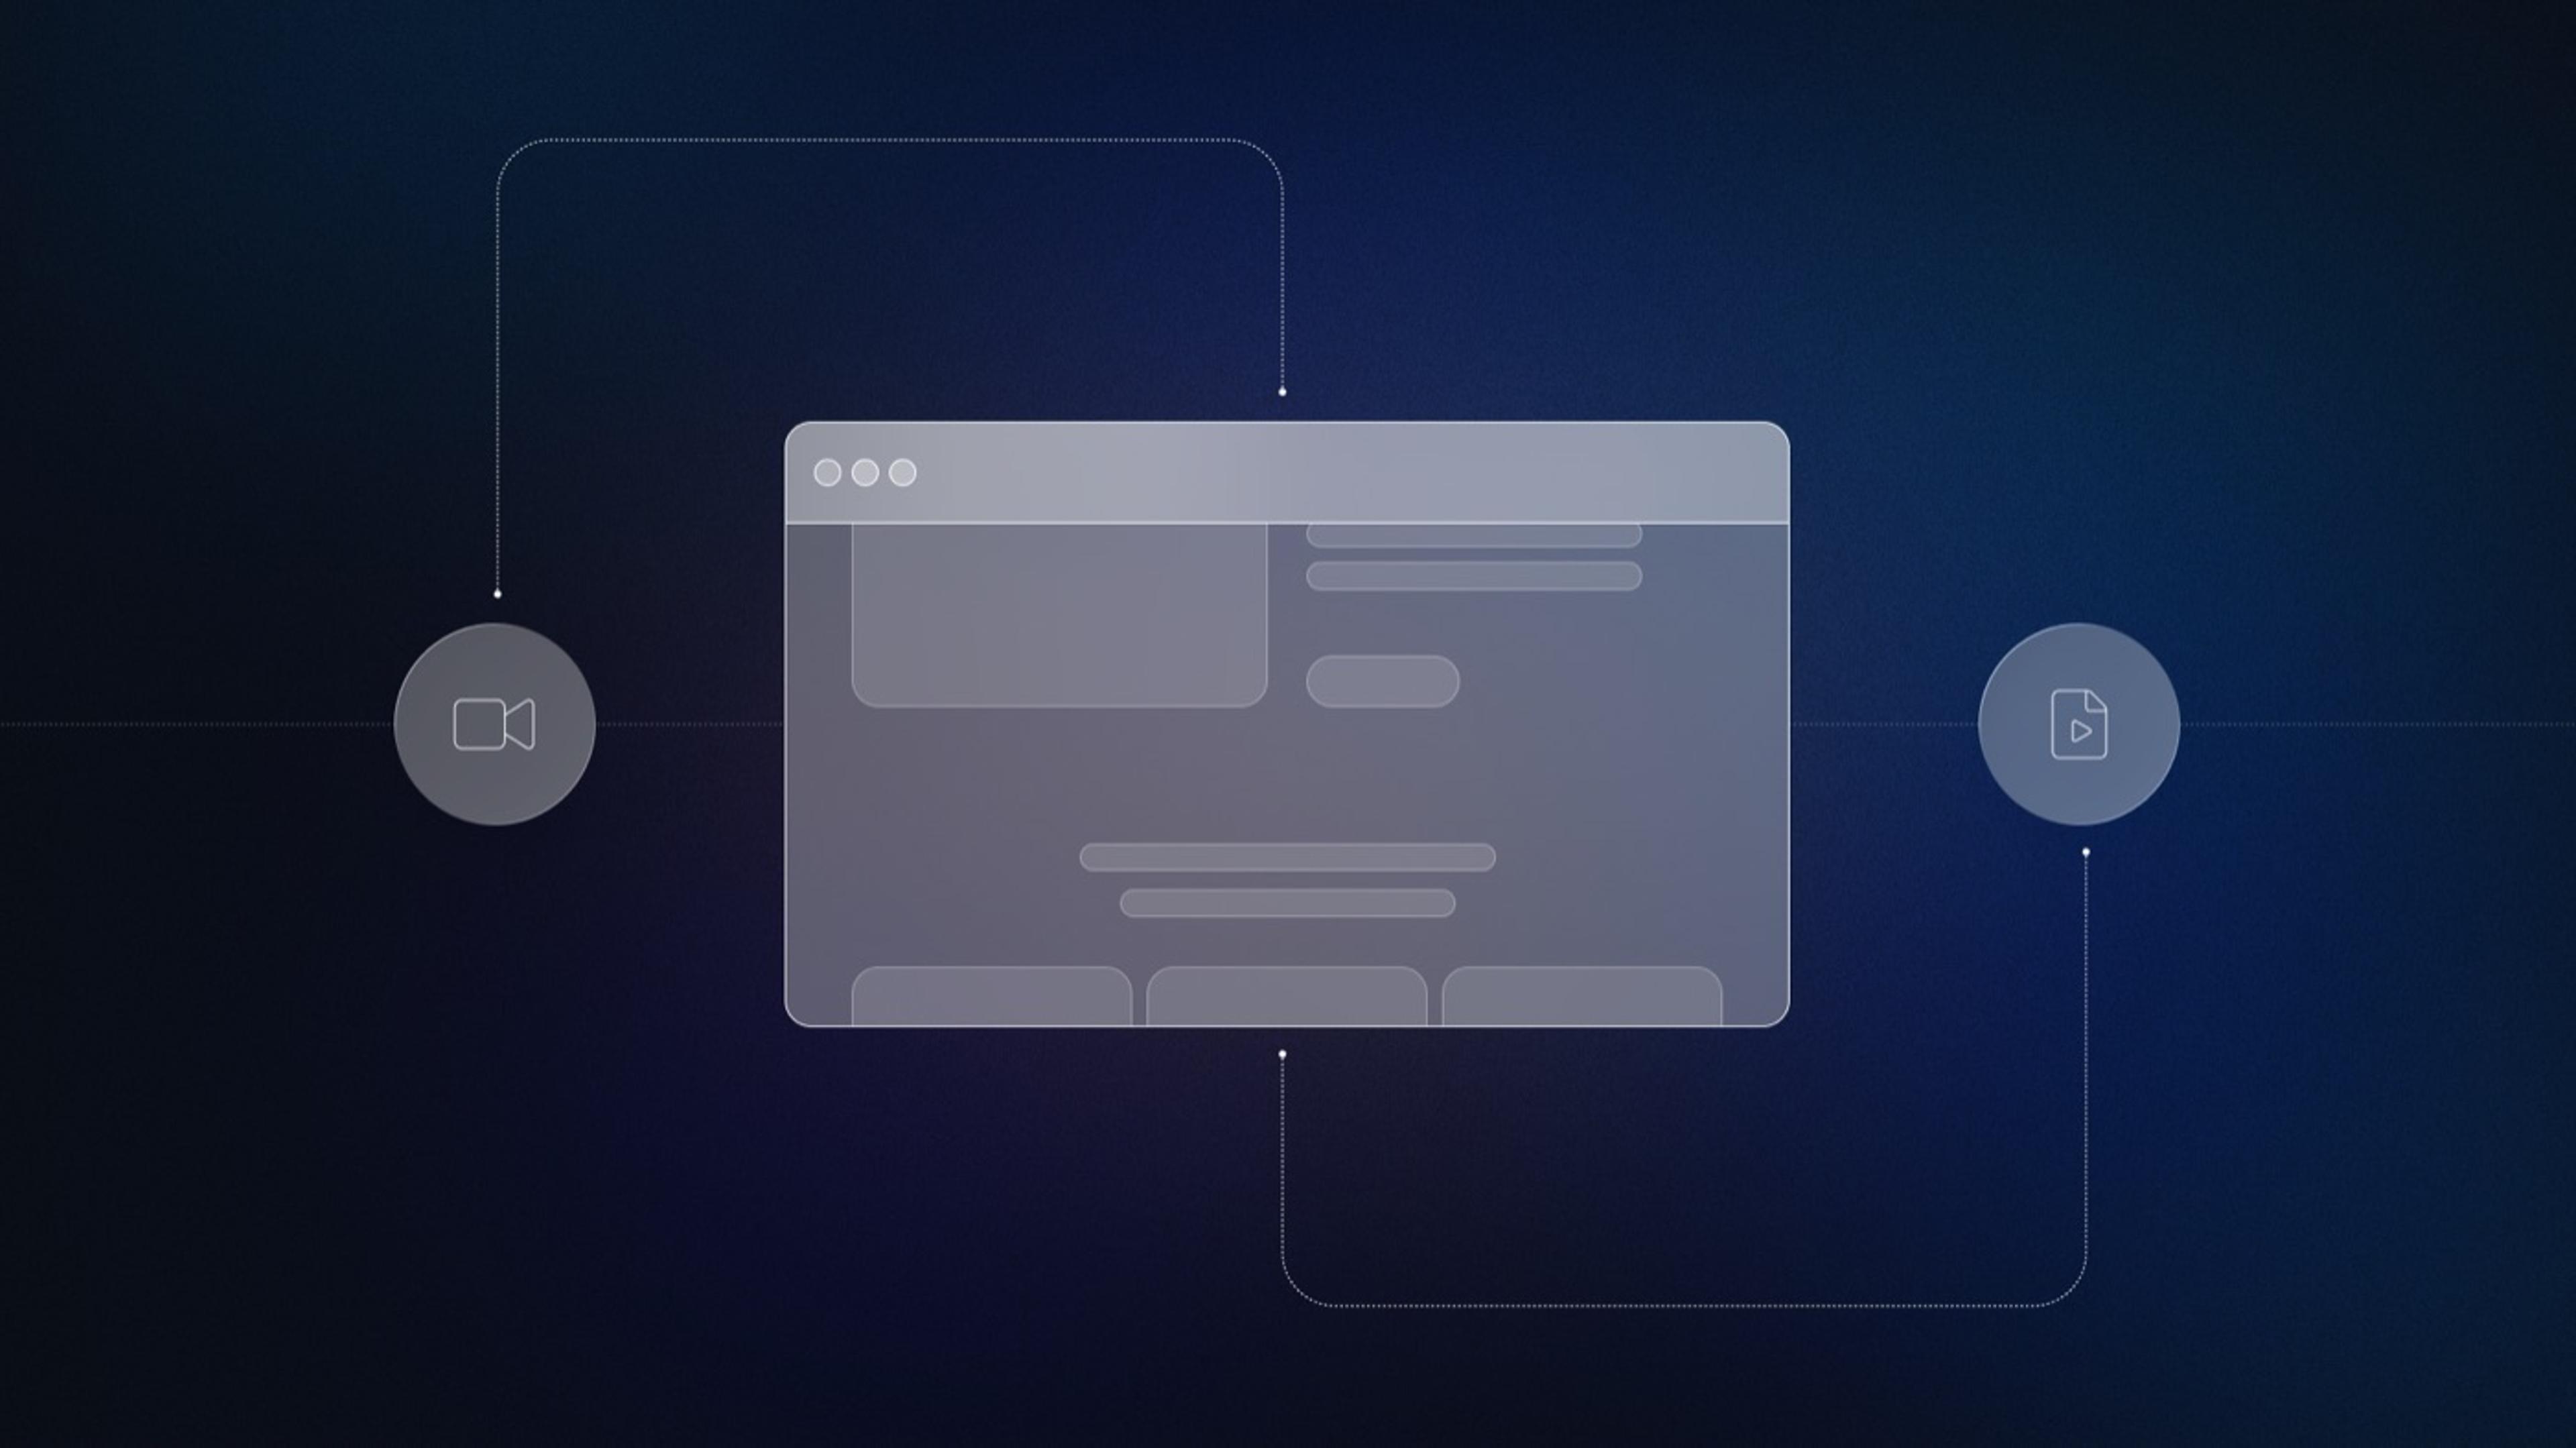
First, we implemented a way for the Shell session to persist in the background and added a UI dropdown listing all the active Shell sessions, including the presence of multiplayer users, and additional metadata:
Shell Sessions
With these changes, we had to come up with an understandable heuristic, for how creating new Shell panes works with the concept of Shell sessions.
In pid2, we keep a list of Shells, sorted by when they were created. Each session knows if there’s a UI pane connected to it, or not.
When the user opens a new Shell pane, we grab the first one from the list of Shell sessions, that is not attached yet. If we don’t have one available, we just create a new one.
We clean up the Shell session when the Shell itself exits — be it by explicitly executing exit, hitting ctrl-d, or clicking the “Kill Shell” button.
Reopening Shells
Finally, we had to figure out how to handle Shell sizing. due to historical reasons, a PTY assumes it’s connected to only one “terminal” (the output “screen”, in our case, the UI pane).
While we can easily allow multiple readers (display the same contents in multiple panes), and multiple writers (each pane can listen to input and send to the same PTY), we are technically constrained by the PTY being able to handle only a single amount of columns and rows.
The only reasonable solution that covers every scenario is to always calculate the minimum number of columns and rows, based on every opened Shell pane. (In fact, this is how GNU Screen and tmux solve the same problem!)
Multiplayer Sizing
Implementing persisted Shell sessions
Implementing pid2 in node.js allowed us to use xterm-headless, an xterm.js implementation that doesn’t depend on the browser environment (hence, “headless“).
We already use xterm.js on the frontend, and this allowed us to share more code, and move some secondary functionality to the pid2 process.
xterm-headless itself gives us a terminal emulator, which can properly parse and preserve the scrollback buffer state. We need this, because ANSI escape sequences are stateful, so naively preserving a circular buffer of PTY output is not enough. An extreme case to visualize this, would be if some process returned “turn the output red” sequence, and then 1000 lines of (now red) text — if our scrollback buffer was set to hold at most 500 lines, that would mean we’d have lost the “turn output red” command as well!
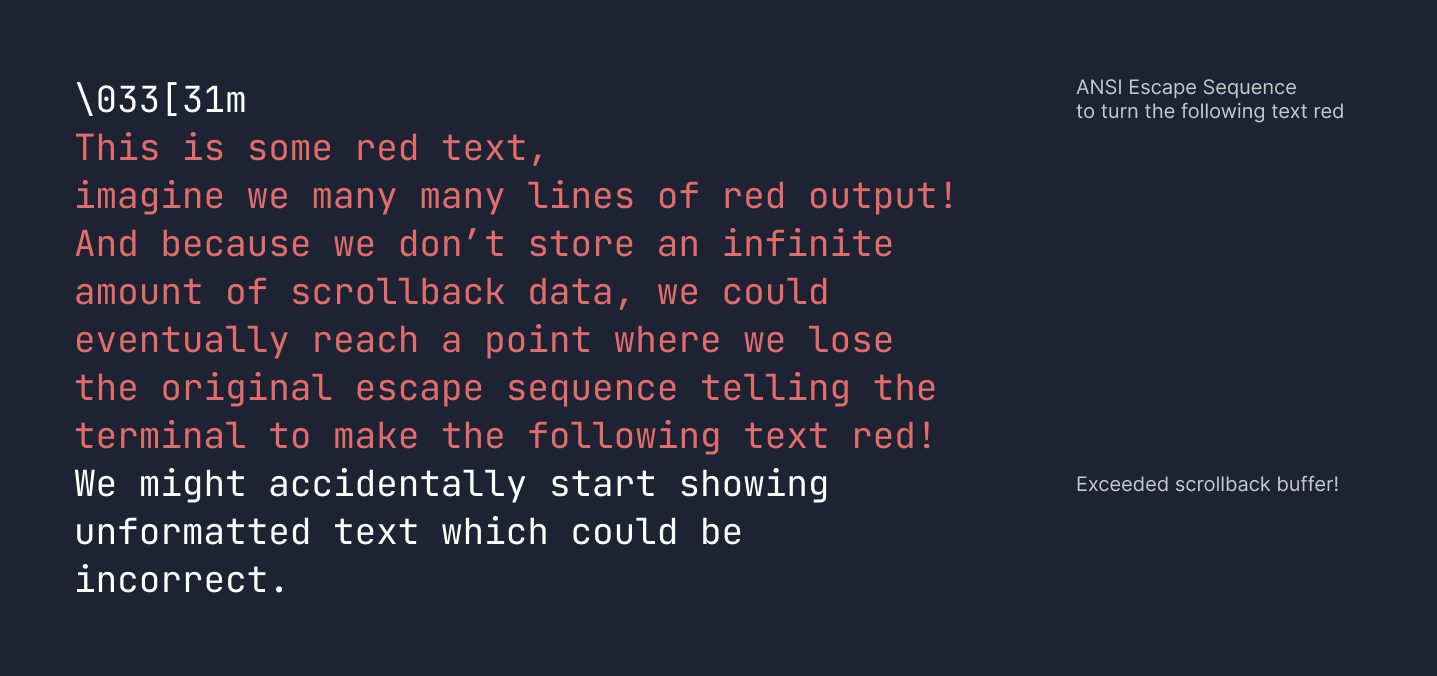
With a proper backing terminal, we keep on interpreting the ANSI sequences as they come in, and the scrollback is restored, just as if it were visible all the time.
Of course, one common ask might be “why not just use tmux?” While tmux is a great piece of software, it isn’t particularly beginner-friendly for the vast majority of people who aren’t already familiar with it. We already have a very nice pane windowing system in the workspace and leaning into it here allows us to make the workspace feel much more cohesive.
Bonus: Shell in the AI
We implemented the new Shell component and pid2 functionality in a way that allows us to reuse them across the workspace, not only in the Shell pane itself.
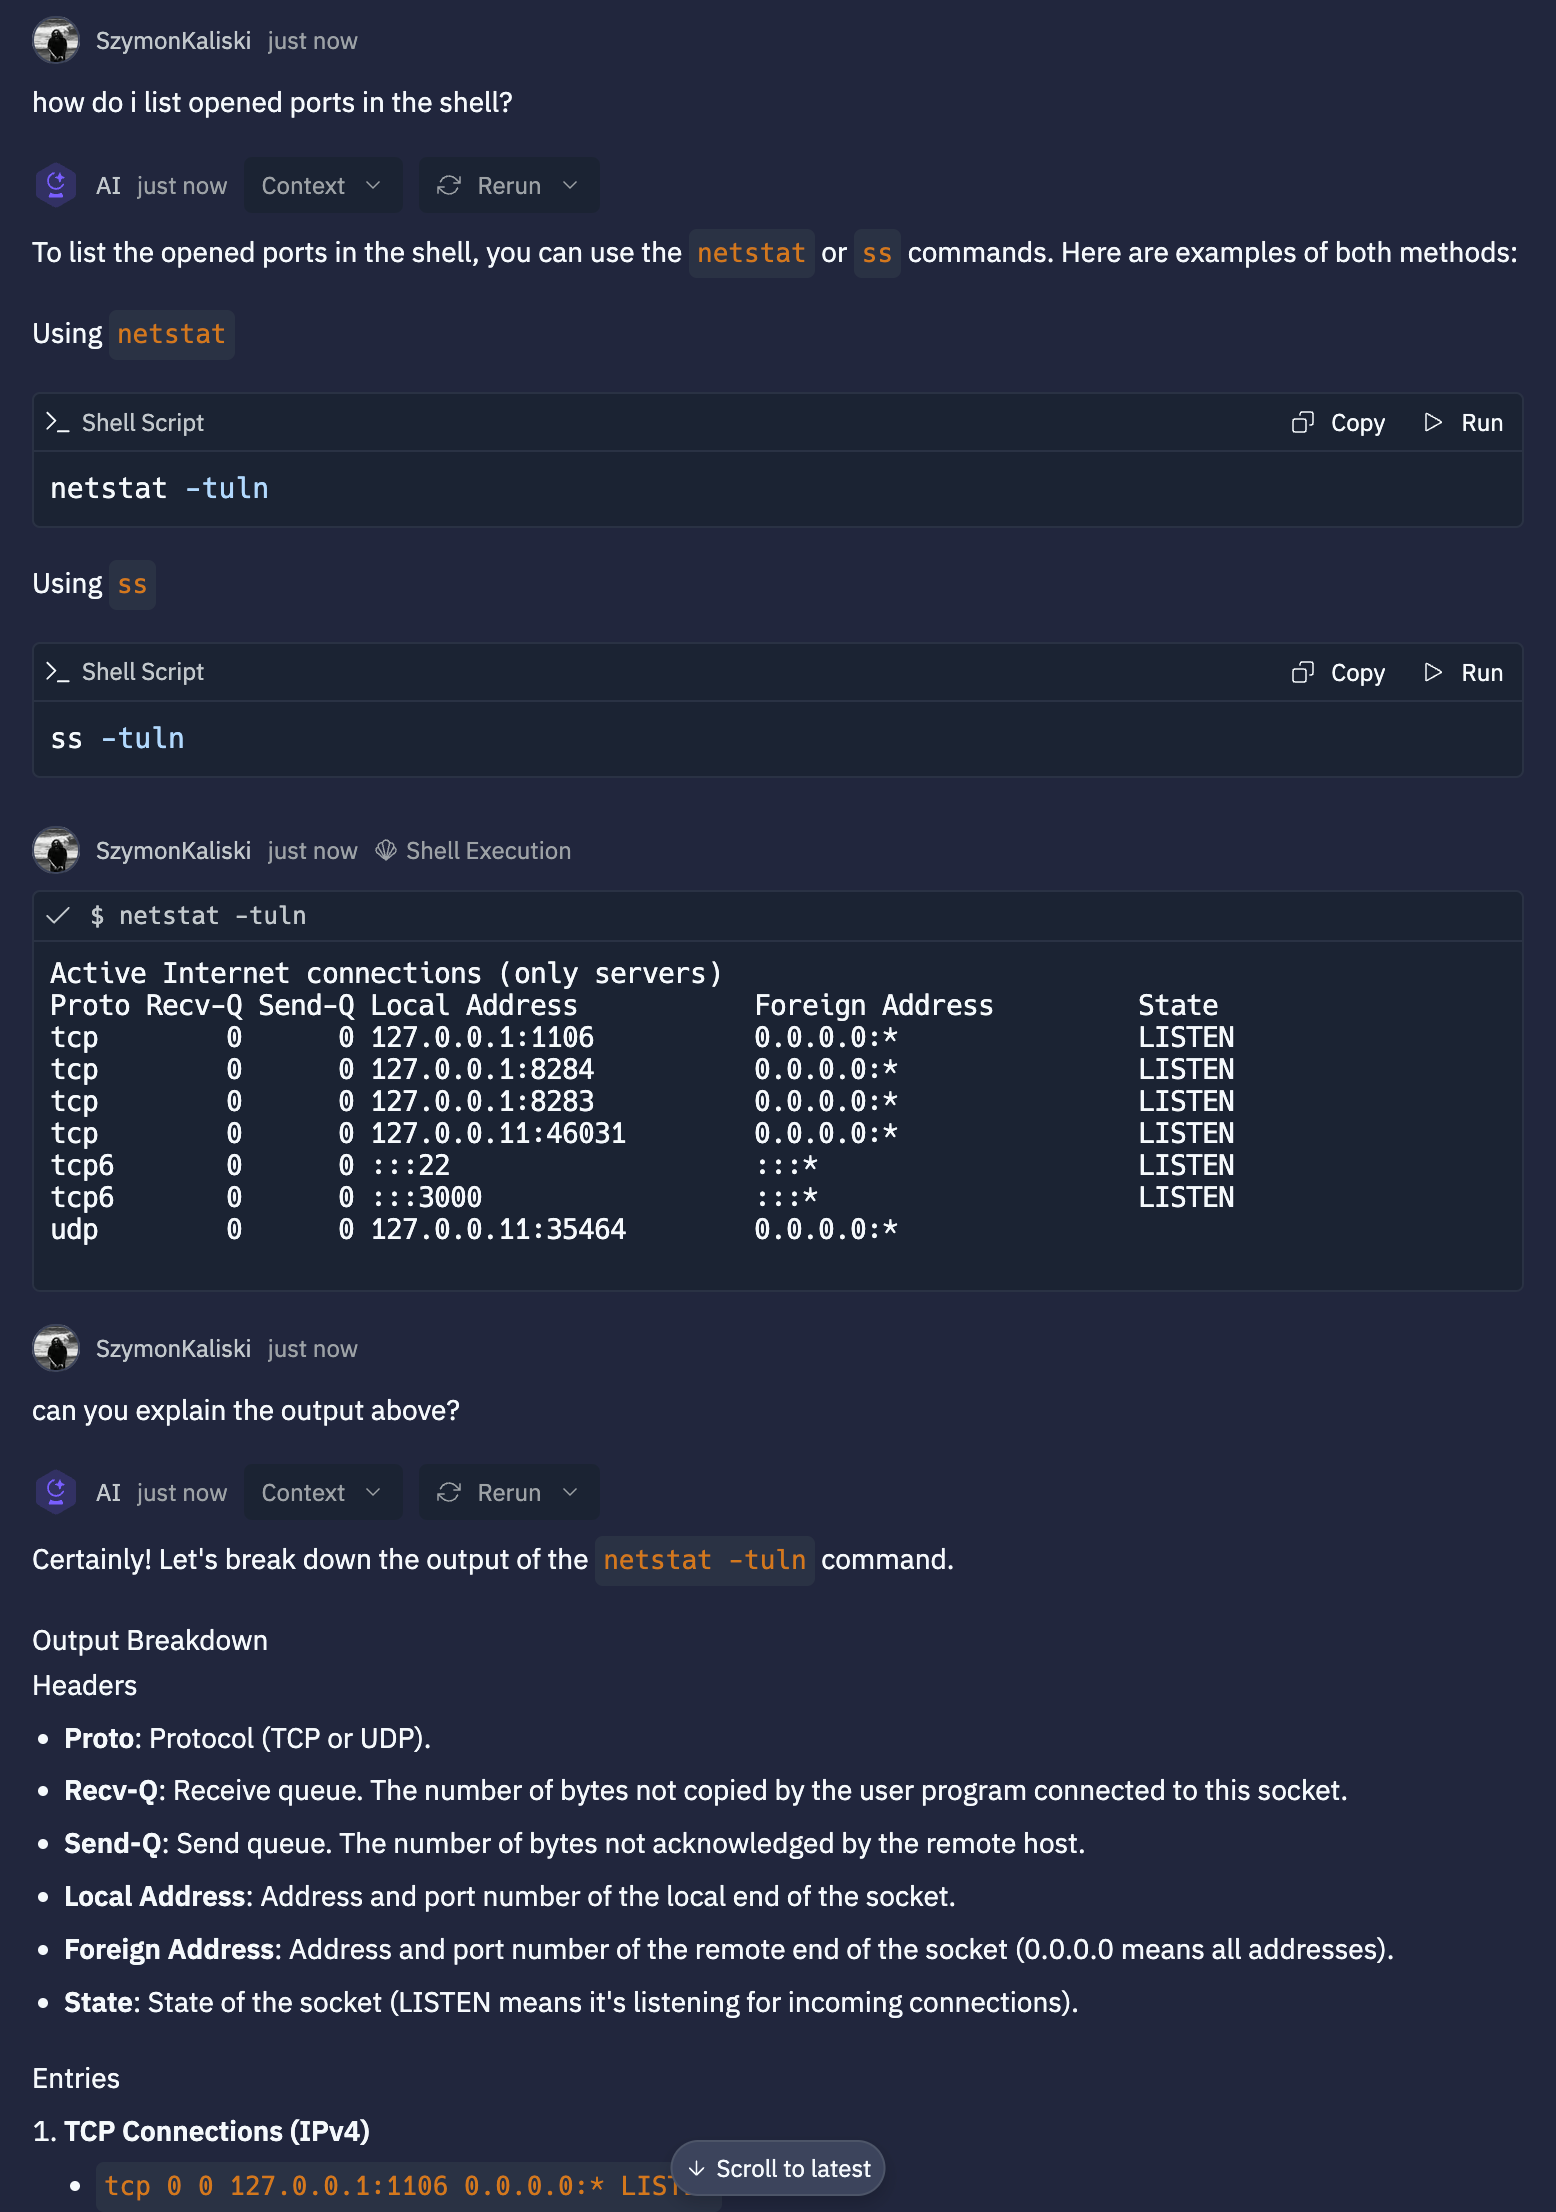
The first such a place is the AI chat. When we detect that the AI proposes a Shell command to execute, you’ll see a “▹ Run” button next to it. Clicking it will spawn that command, and show the results to both you, the possible multiplayer users in the Repl, and the AI itself. You can then continue chatting, as the results of that execution become part of the chat history.
Check out this example of learning about netstat command, and its usage:
Work at Replit
Come work with us to solve technically challenging and highly ambitious problems like these, and enable the next billion software creators online.
Footnotes
- 1
As a part of this migration, we also created @replit/ruspty which is a library that allows us to create PTYs from within JavaScript. Originally, we created this instead of just using node-pty because early versions of pid2 used Bun which didn’t have great support for Node-API native addons at the time. However, even after we migrated pid2 back to Node.js, we kept @replit/ruspty around to let us retain access to this important level of the stack. We create and spawn PTYs from a lot of different places and having deep granularity into the system-call level details allows us to be flexible (for example, adding non-interactive mode to the PTYs which node-pty doesn’t support).