
At Replit, we want to give everyone in the world computer superpowers.
We’re making it easy for anyone with a Replit account to seamlessly build and host Amazon Alexa Skills on Replit.
This blogpost is a start-to-finish tutorial on making Alexa skills on Replit. Something important to note is that you don't need to have a physical Alexa-enabled device to build this. There is a great simulator in the developer console and a downloadable app on your phone.
Overview
- Configure the Alexa skill in the Amazon Developer console
- Clone the "Replexa" template
- Define your own intent
- Test your skill
How does it work?
As an example, what happens when we say: "Alexa, ask Replit about the most recent blogpost"?
- The Alexa unit sends the message to the Alexa cloud and uses natural language processing to figure out the "intent" of the message. In this case, I'm trying to get information about the most recent Replit blog posts.
- Once Alexa knows the intent of the user, it sends a post request with the intent to the webserver that's hosted in Replit.
- The Replit webserver handles the request. It sends the information back to the Alexa cloud.
- Alexa cloud sends the message back to the physical unit to be spoken back to the user.
Creating the skill
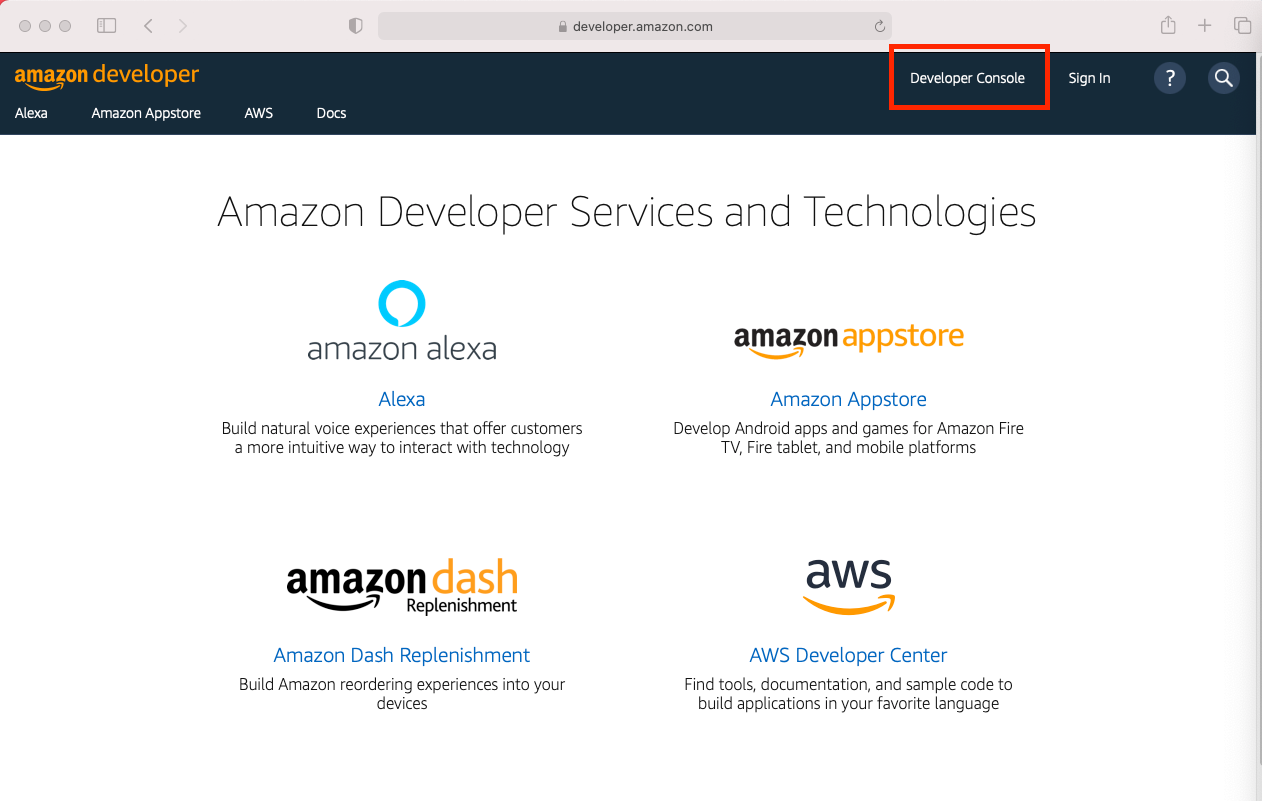
The first thing to do is create a new Alexa skill in the Amazon Developer Console. You can do this by navigating to https://developer.amazon.com and pressing "developer console" near the top right.
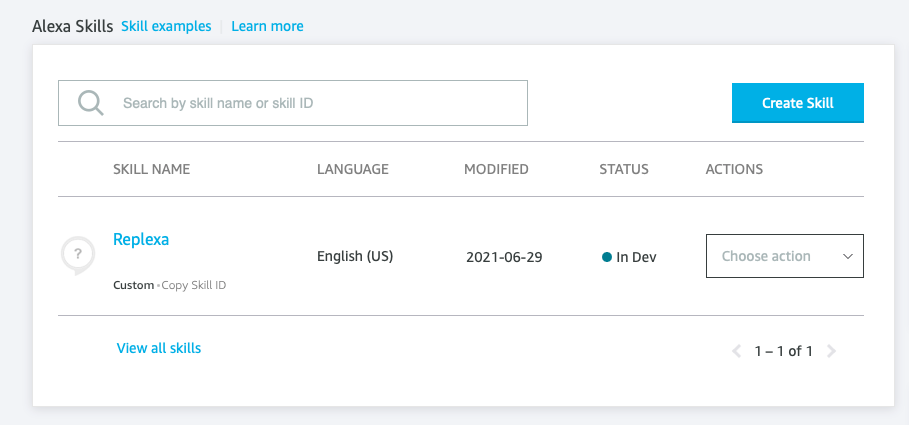
From here, you're going to click "Alexa Skills Kit" to bring you to the Alexa dashboard. Click "Create Skill" to start the process of creating a new skill.
Once you name your skill and select your language, click "Custom model" and then select "Provision your own" for the backend. Finally press "Create skill" at the top right of the page.
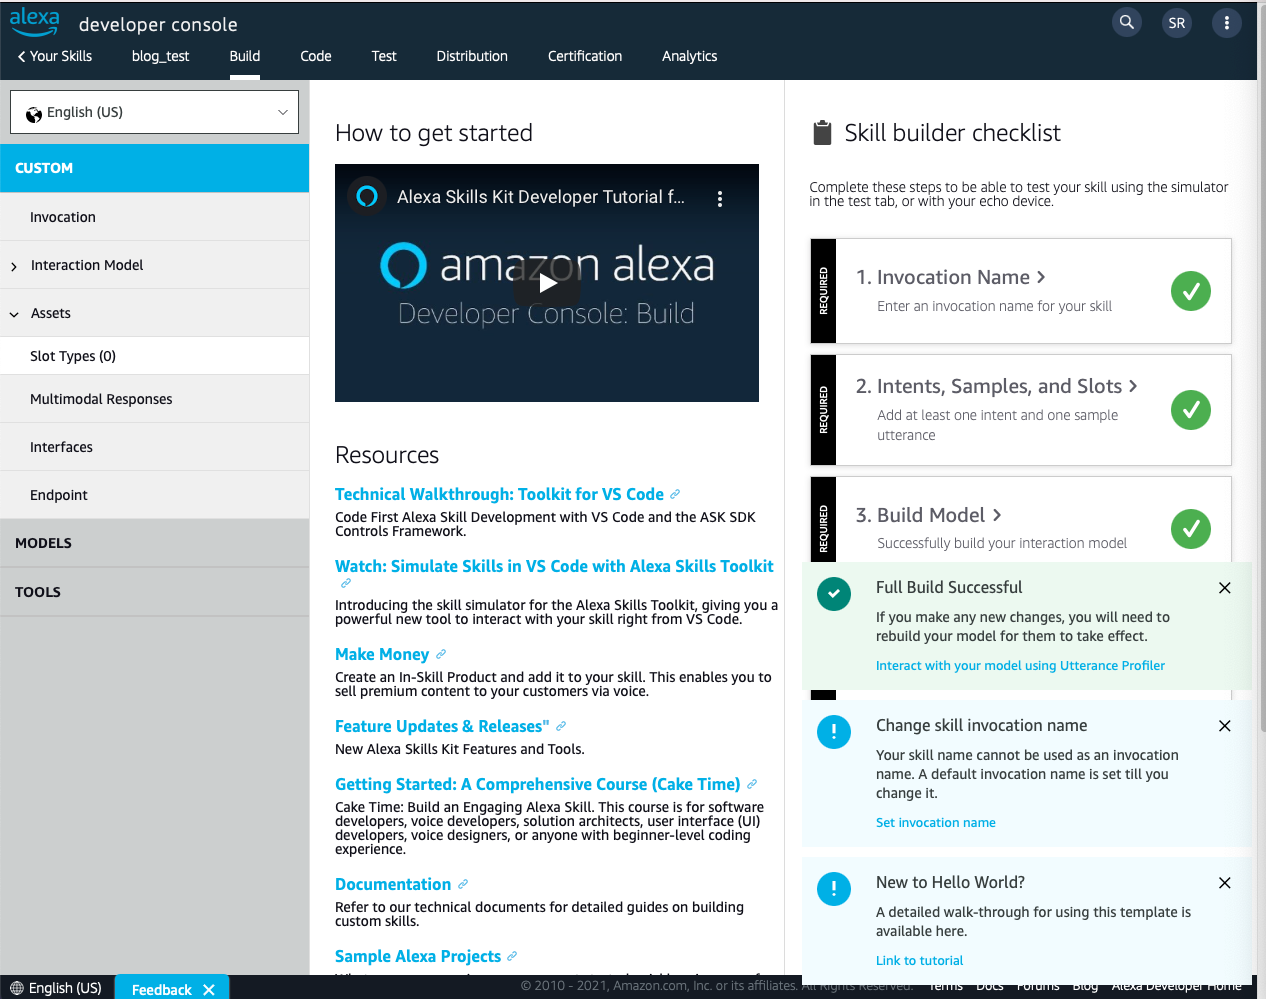
After this it's going to ask about templates, just click "Start from scratch" then go onto the next page. Eventually you'll see the following page - this means your skill has been created!
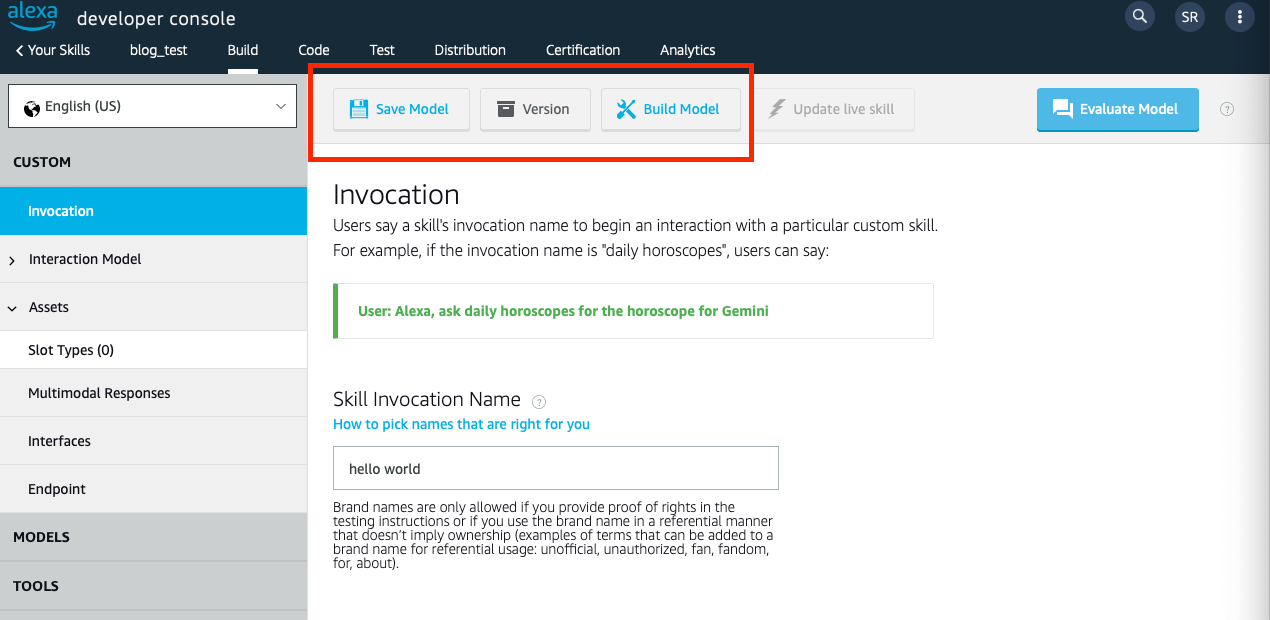
Invocation
Next, we will set our invocation. On the left of the screen, click the invocation tab. Invocation is how you'll start your skill from your Alexa. For example, if your skill invocation name is "Replit blog reader", to open your skill you would say something like "Alexa, open the Replit blog reader skill". Once you have entered your skill's invocation name, click "save model" and "build model" at the top. This can take up to 30 seconds.
Interaction Model
Click "interaction model" and click "intents" from the left bar. According to the official Alexa documentation, "An intent represents an action that fulfills a user's spoken request". In this case, we want to build a skill that gets a summary of the most recent blogpost on the Replit blog.
Each intent has its own set of "utterances". Utterances are spoken phrases that could trigger an intent. "Get the most recent Replit blogpost" and "Get the Replit blog" should trigger the same intent.
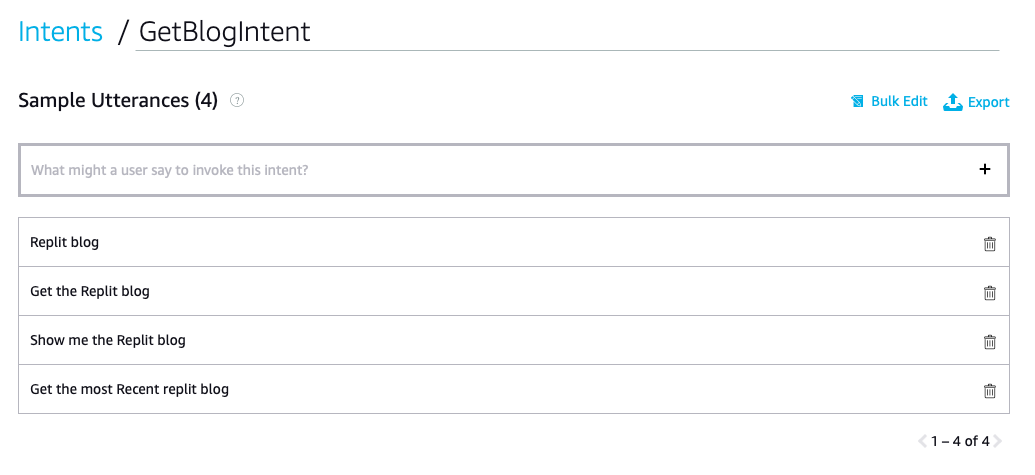
Create a new intent called GetBlogIntent and add the following utterances:
- Get the most Recent Replit blog
- Show me the Replit blog
- Get the Replit blog
- Replit blog
Make sure to click "save model" and "build model" after you've added the intent.
Hosting in Replit
Traditionally, if you want to create an Alexa skill, you have to host the code in an AWS Lambda. While this is an amazing service, Amazon also gives you the option to host your skill using your own webserver. We've found that it's incredibly easy to host Alexa Skills in Replit. You also get the benefits as Replit, such as ReplDB, always-on, and multiplayer.
First, clone the Replexa template in Replit.
Once you have the code open, you're going to want to grab your skill id from your list of Alexa skills. (Get to this menu by clicking "your skills" at the top right of the developer console.)
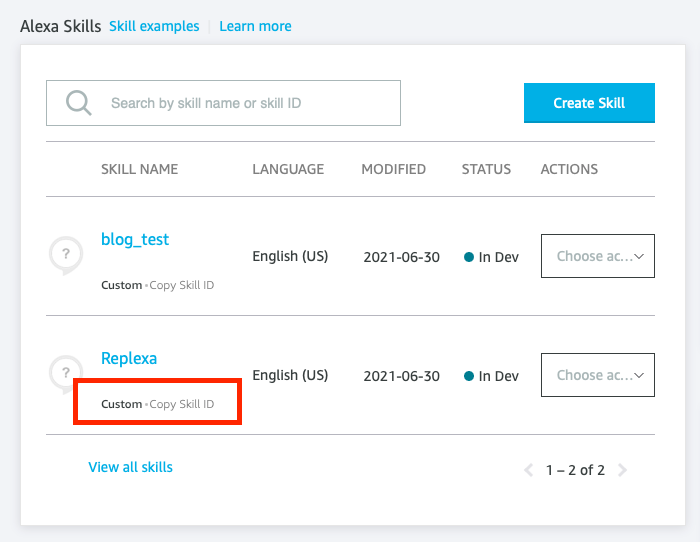
Copy that and paste it into the template where it says YOUR_SKILL_ID.
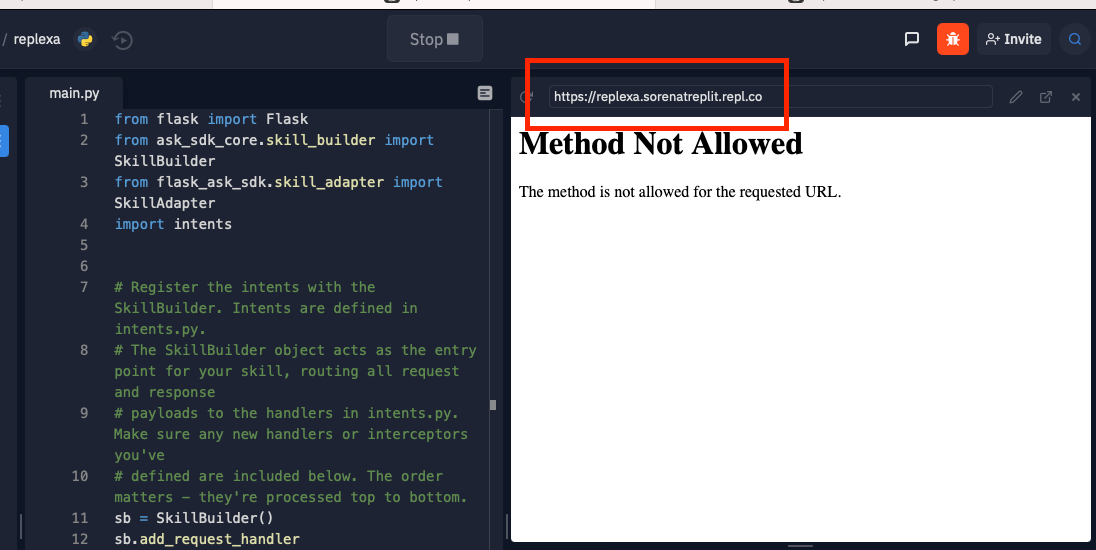
The last step in connecting your repl to your skill is getting the domain. You can copy it by running the repl and copying the domain.
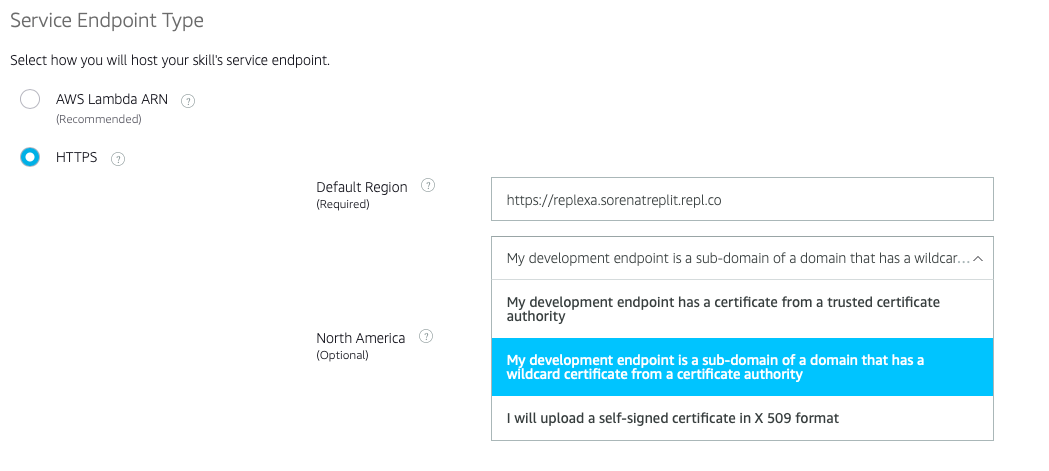
Now that you have your repl's domain, go to the "endpoint" tab in the amazon developer console. Change the service endpoint type from "AWS Lambda ARN" to "HTTPS". Paste your repl's domain into the default region.
In the drop-down menu, select "My development endpoint is a sub-domain of a domain that has a wildcard certificate from a certificate authority". (This is important)
Add GetBlogIntent
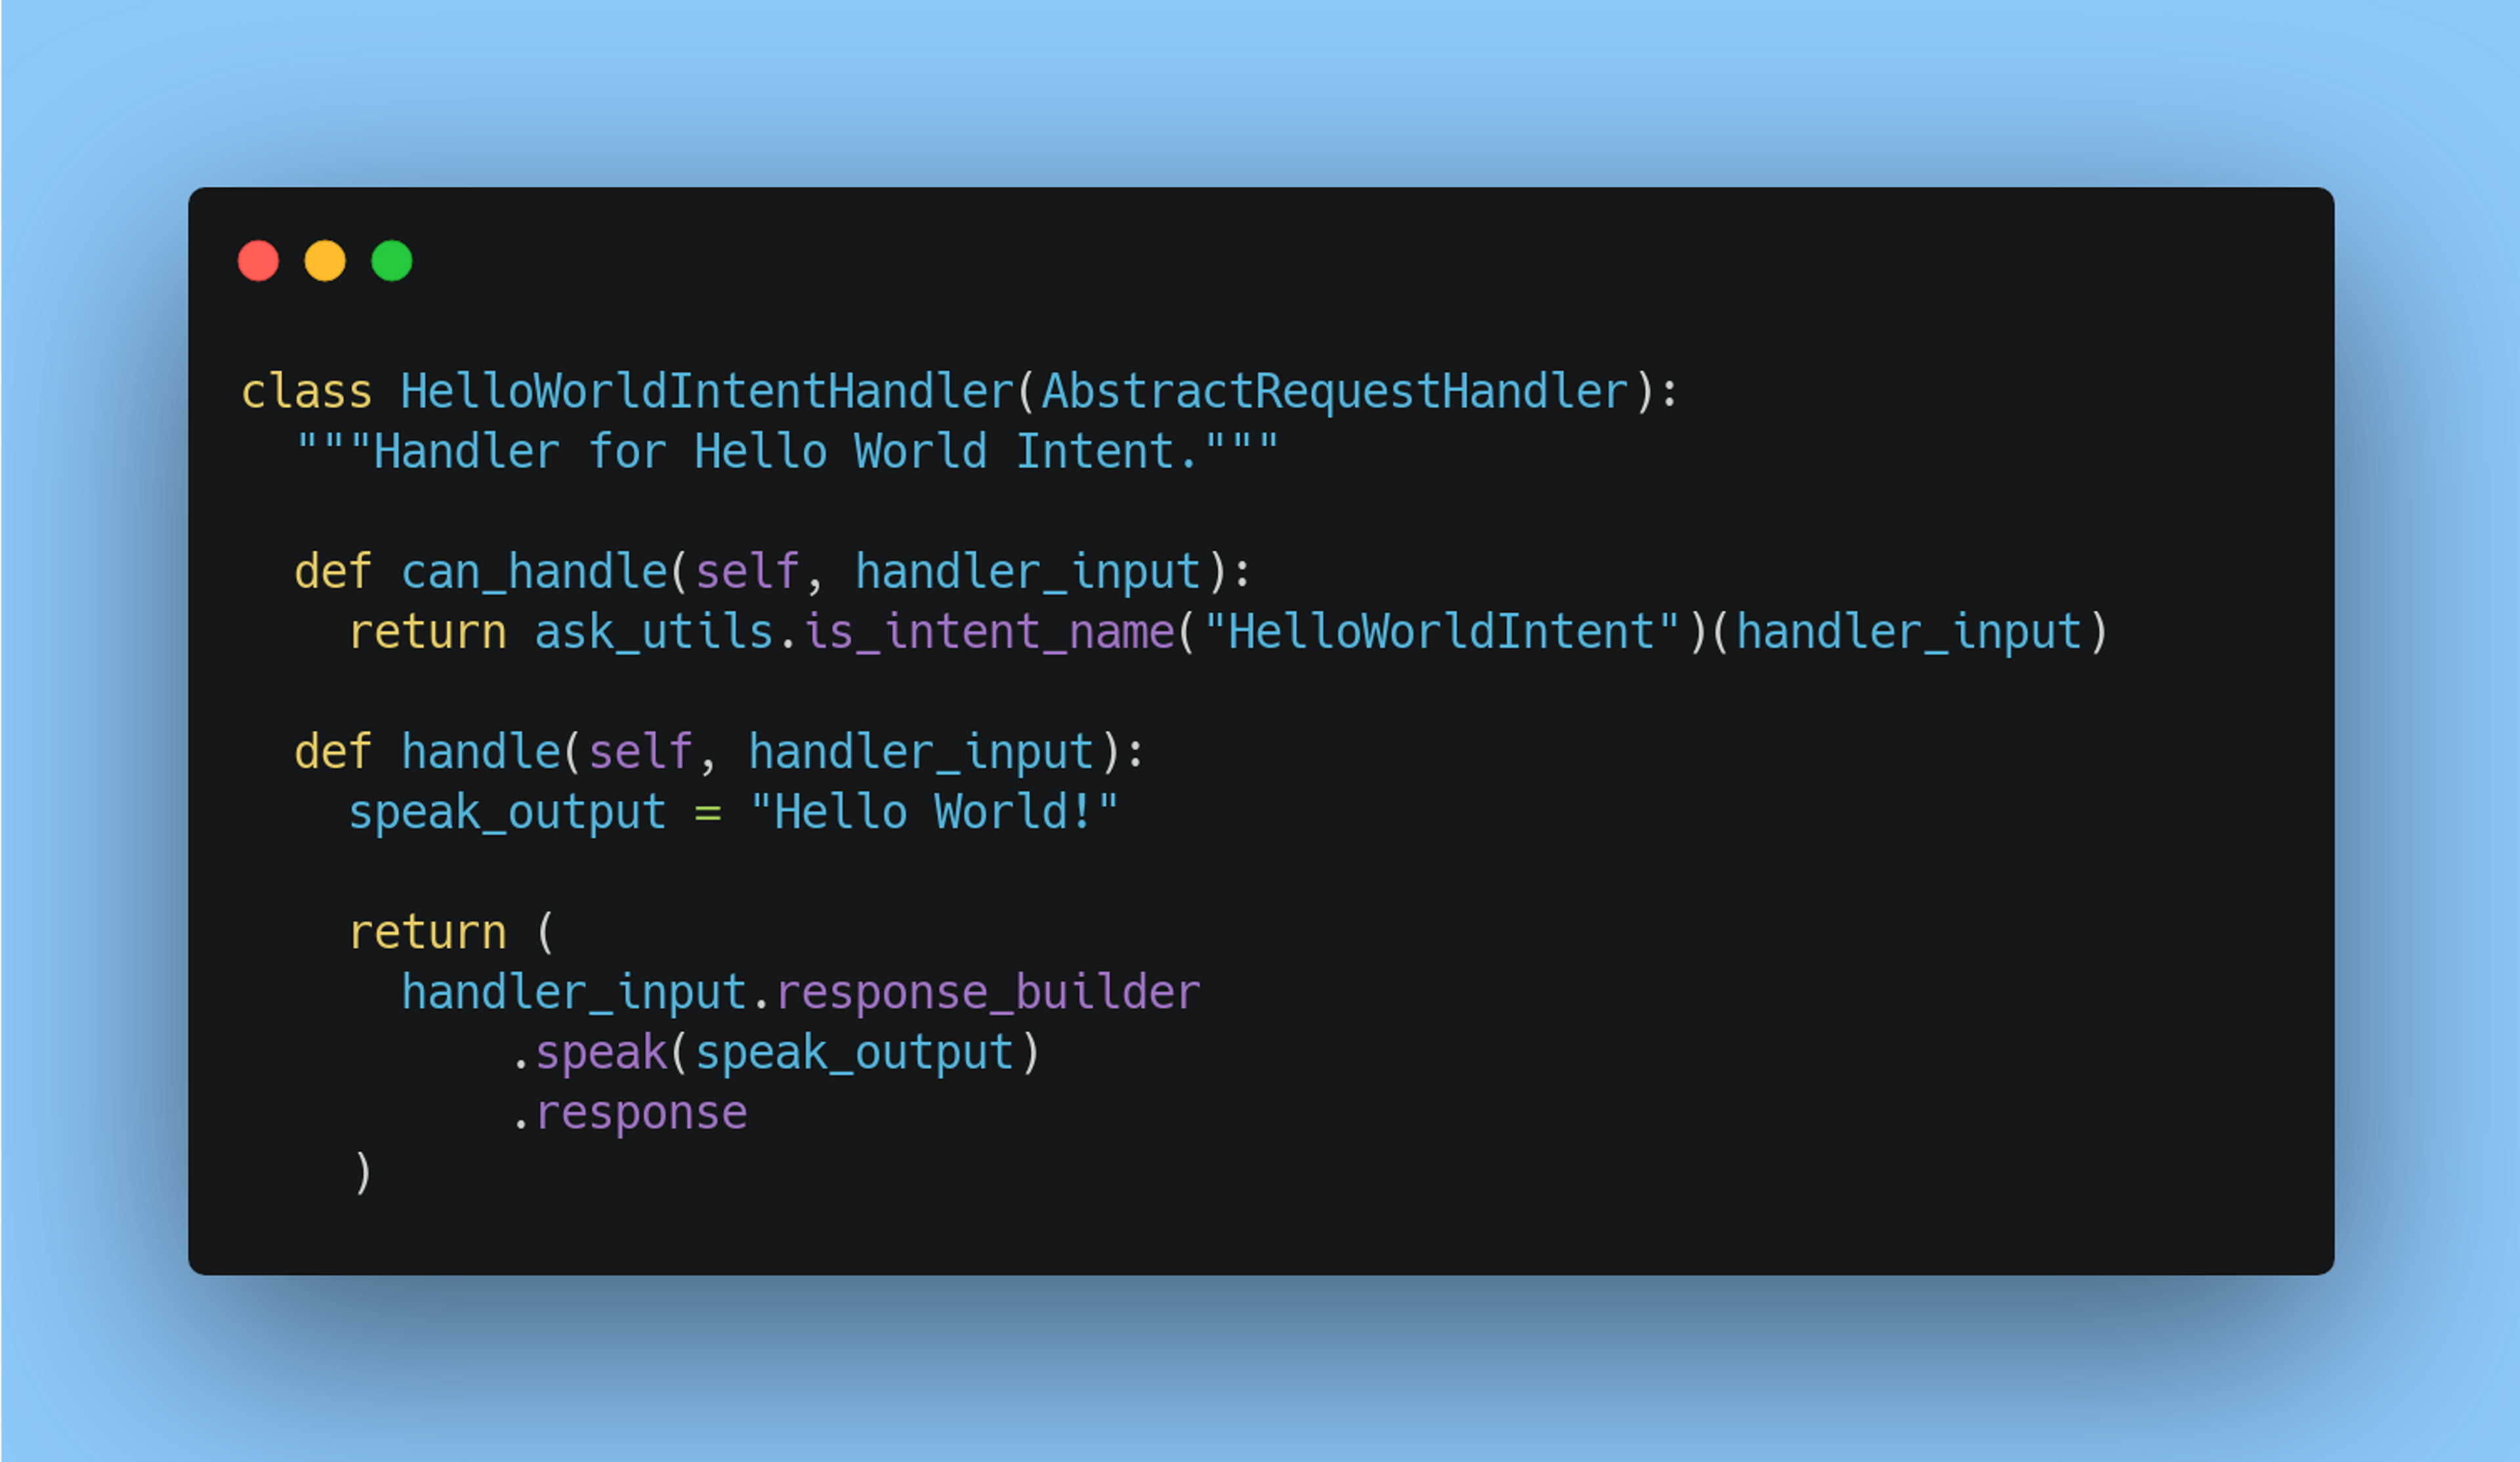
Since we added the GetBlogIntent in the developer console, we have to add an intent handler in our code. Navigate to the intents.py file. Each intent inherits from the AbstractRequestHandler. You must define both the can_handle() and handle() methods for every intent. Our new class will look something like this:
In addition to defining the intent, we also have to register the intent with the SkillBuilder object in main.py. Add the following line to main.py:
sb.add_request_handler(intents.GetBlogIntentHandler()).
main.py should now look something like this:
Implementing our new intent
To get the most recent blogpost, we'll use the feedparser library. Here's the code to get the most recent Replit blog:
Testing
Testing Alexa skills is easy! Once you have navigated to your Skill in the Amazon Developer Console, click the "testing" tab. What you see now is an Alexa simulator pre-loaded with your skill. You can type into the console on the left, and it will respond exactly as an Alexa unit would.
You can also check out this youtube video for a quick demo!
If you need help
You can reach out to me (Søren) on Twitter or shoot an email to [email protected]. I'll do my best to respond quickly!