Replcraft is a library that allows you to automate parts of your base on a Minecraft server using code, directly from a repl. Replcraft allows you to get and place blocks, check for entities, move and craft items, read redstone, and more.
This tutorial will cover a number of small projects you can build using Replcraft. If you'd be interested in joining an official Replit community Minecraft server, seeing more Minecraft-related content in the future, or you just want to leave general feedback, you can do so by commenting on this repl.
Getting started
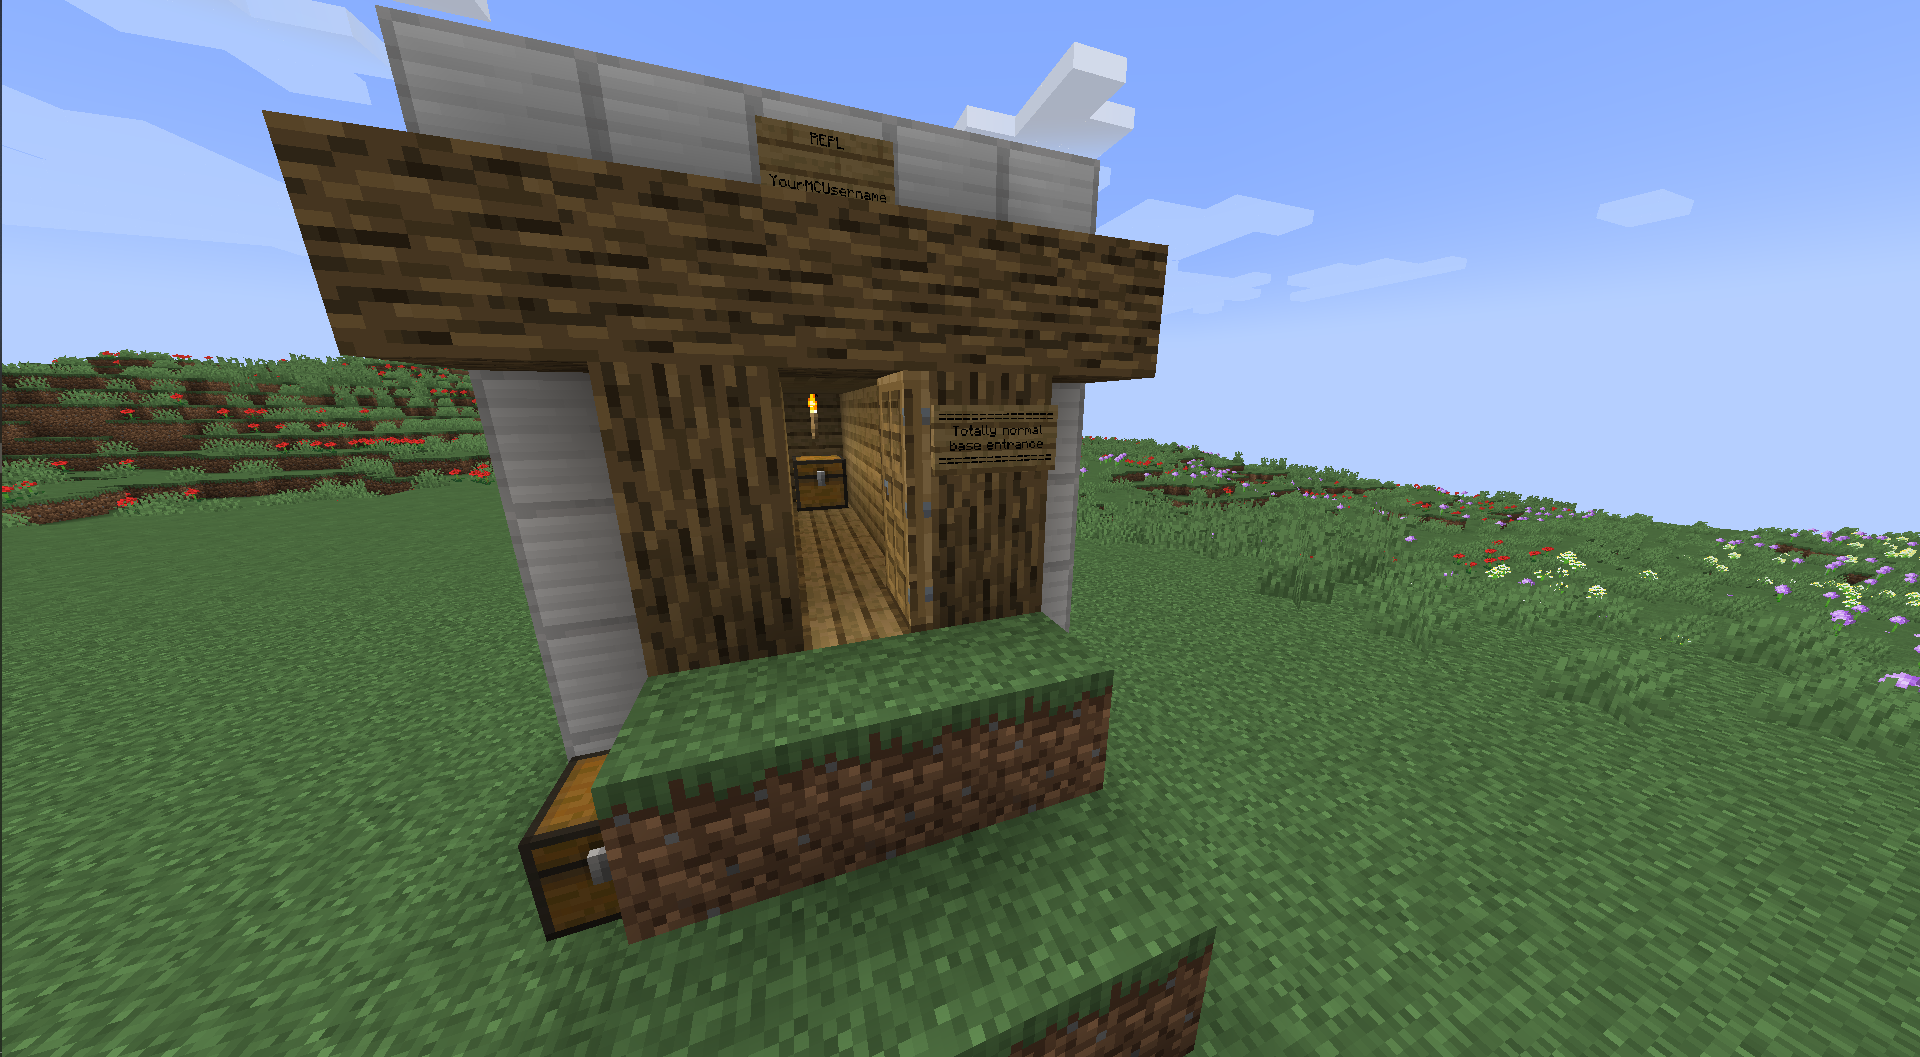
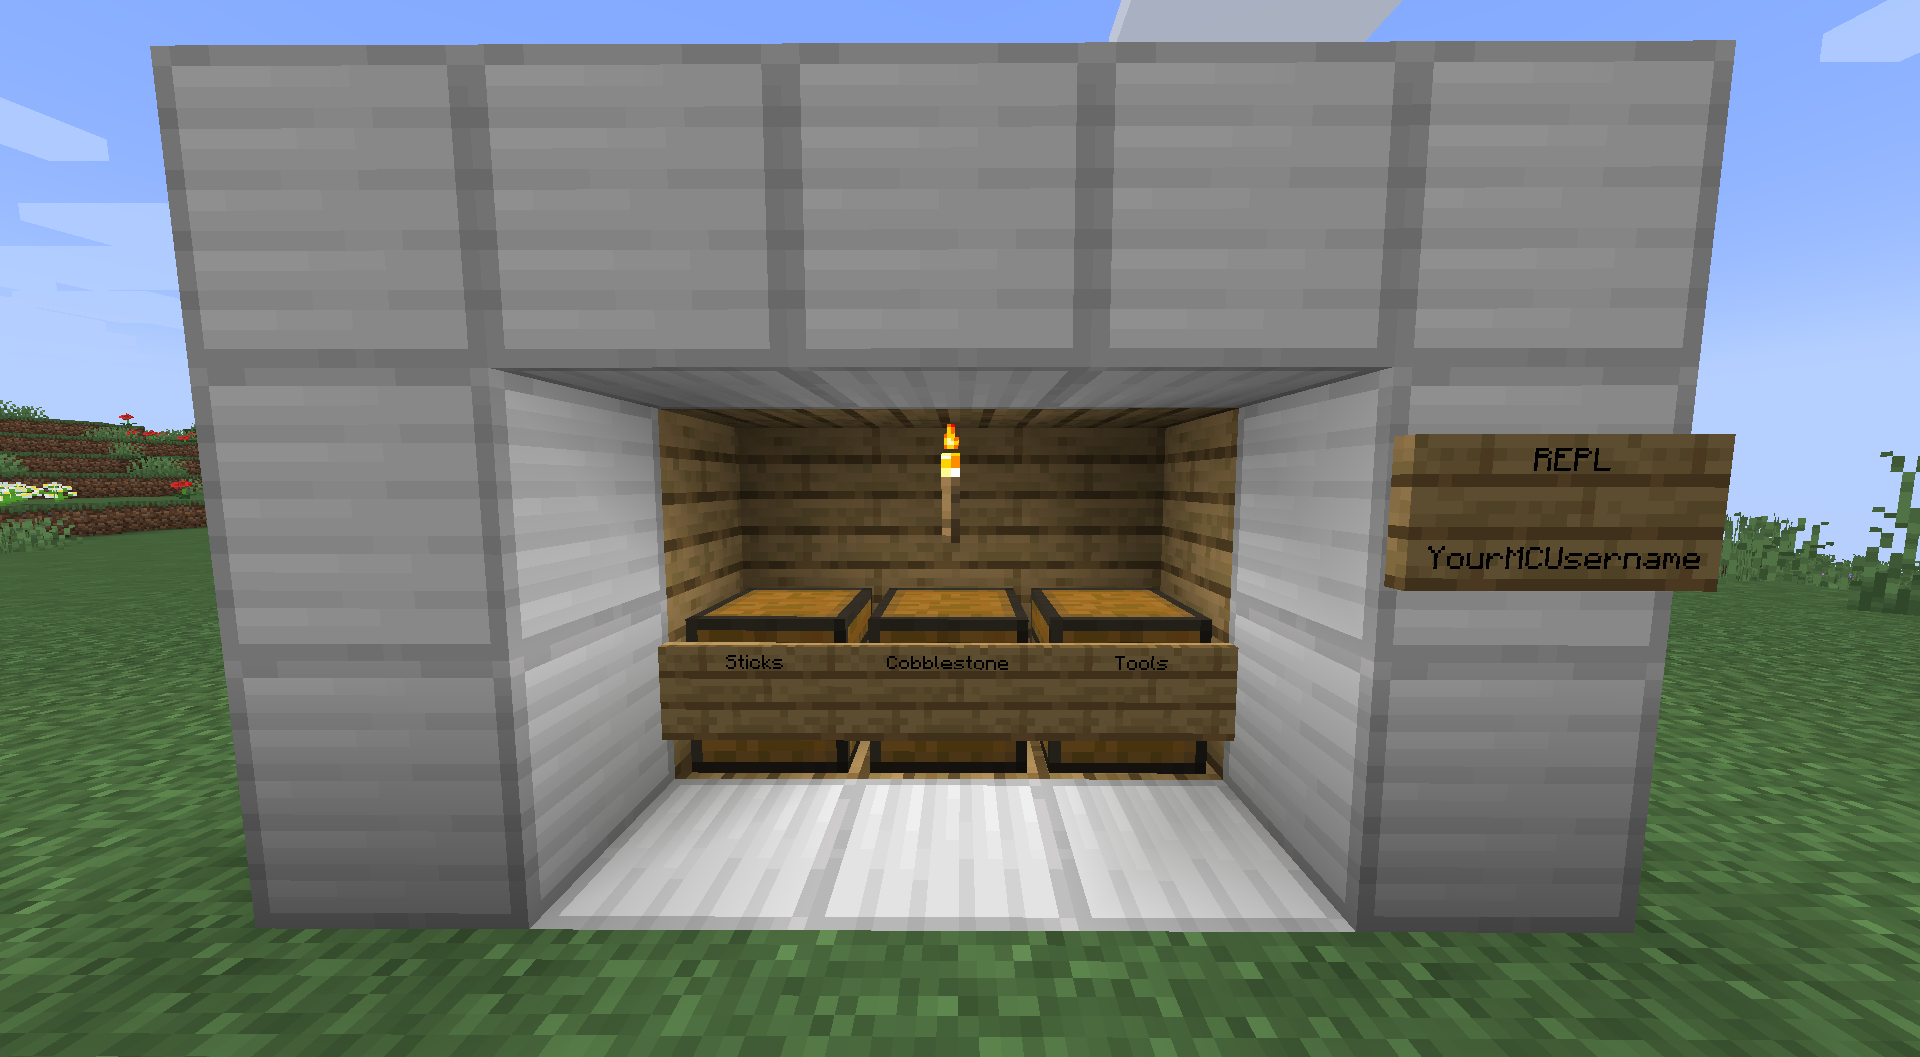
Before you begin, you'll need a Replit account and a Minecraft account. To get started, fork the Replcraft template and join a Minecraft server running the Replcraft plugin. Next, create a special structure made up of a frame of iron blocks:
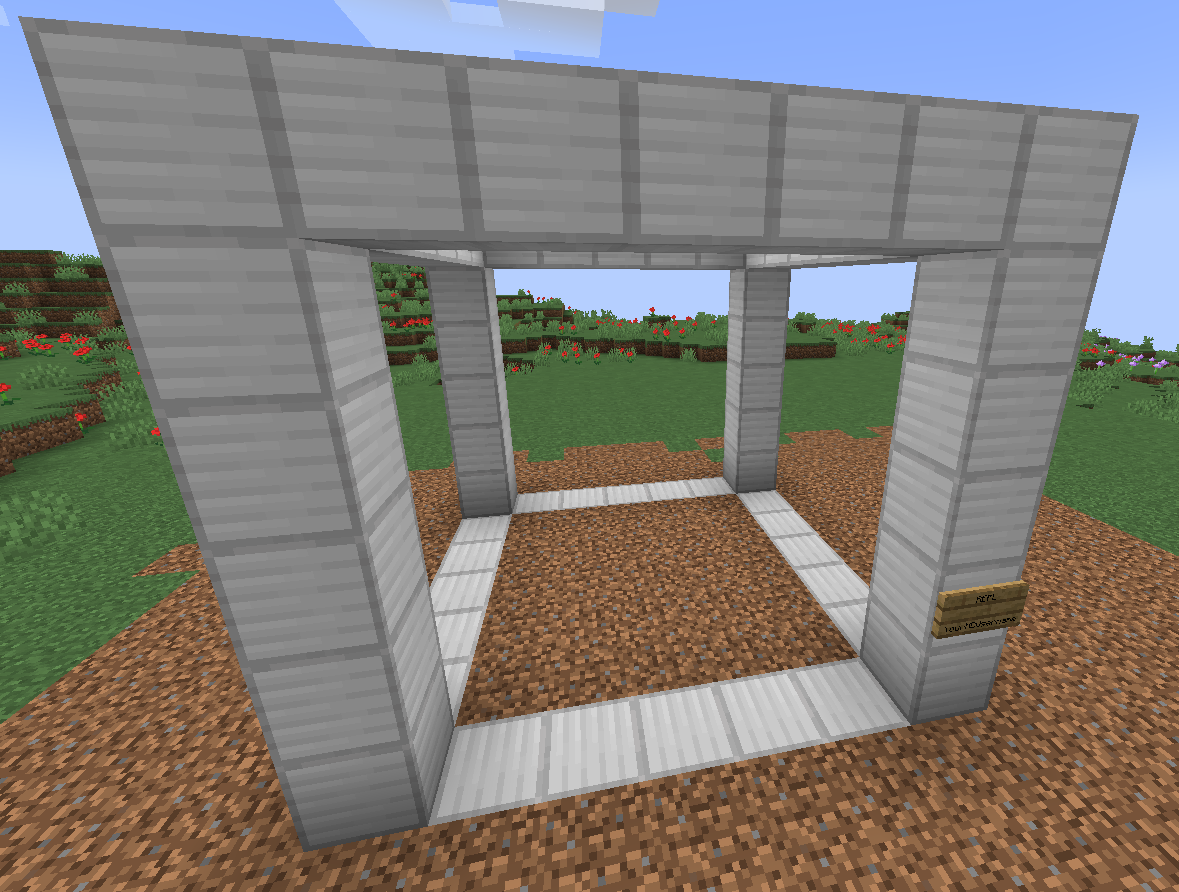
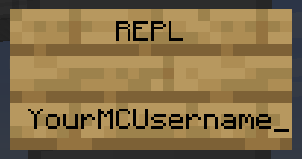
After you're done building the structure, place a sign on the side with the lines REPL, two blank lines, and your Minecraft username. Sneak-interact with the sign to receive your token.
You can click your token in chat to copy it. Paste your newly acquired token into a secret called token. You're now ready to go.
Creating things
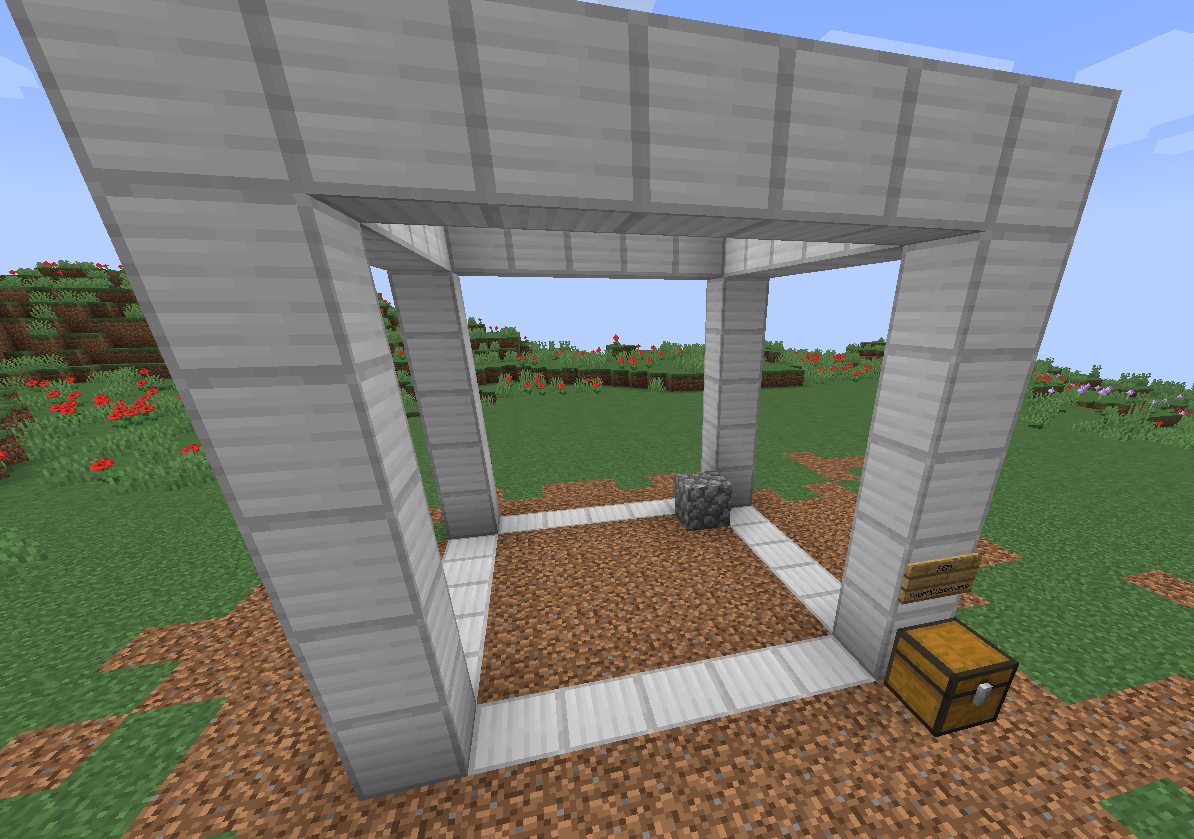
You can now perform all sorts of actions from your repl. To start off, lets place some blocks inside the structure. You'll need to provide the materials by placing a chest directly adjacent to any part of your structure and filling it with the required blocks. That chest is now considered part of the structure's inventory, and the setBlock(x, y, z, block) method will pull from it as necessary.
const ReplCraft = require('./lib/replcraft.js');
let client = new ReplCraft();

(async () => {
  await client.login(process.env.token);
  client.setBlock(0, 0, 0, 'minecraft:cobblestone'); // !
})();
Tips
- All coordinates are relative to your structure.
(0, 0, 0)is located in the northwest corner. - To figure out what block string to use, you can use the
getBlock(x, y, z)method:
// ...
let block = await client.getBlock(0, 0, 0);
console.log(block);
setBlockwill break any block already at the given coordinates and deposit all dropped items into any available chest connected to the structure. An alternative form of the API is also available to specify a specific chest inside the structure to use:setBlock(x, y, z, block, sourceChestX, scy, scz, destinationChestX, dcy, dcz).- To break a block without placing a new one, you can use the
minecraft:airpsuedoblock:setBlock(0, 0, 0, 'minecraft:air')
Watching for block updates
getBlock is useful, but what if we need to know about block changes immediately? Replcraft provides a set of event-based and poll-based update streams that you can subscribe to with the watch and poll methods. When a subscribed block changes, the client will emit a block update event.
Lets use poll to efficiently gather lots of cobblestone:
// ...
client.poll(0, 0, 0);
client.on('block update', (cause, block, x, y, z) => {
  if (block == 'minecraft:cobblestone') {
    // `air` is a special block that represents no block.
    // We can place it for its side effect of breaking any existing block.
    client.setBlock(0, 0, 0, 'minecraft:air');
  }
});
Now whenever our cobblestone generator generates a new block, we can immediately break it without having to constantly hit the API with getBlock or setBlock requests. However, watch and poll come with some respective downsides:
- Due to API limitations,
watchis only capable of catching certain kinds of changes. It's useful for when you need to see a known-good type of change fast. pollwill catch all types of changes by constantly re-examining all polled blocks. Repolling every single block would be slow, so only one block is examined per tick. The more blocks you poll, the longer it takes for you to be notified about changes to any individual block. Note thatpollcan miss changes if a block is changed and then changed back - for example, if we're replacing broken cobblestone faster than we can check for it.- Using both together can be a powerful tool.
Checking for entities
Another thing we can automate is checking for entities inside your region. Maybe you have someone that you want to play a prank on: when they enter your structure, it should trap them! Anybody else should be left alone, though.
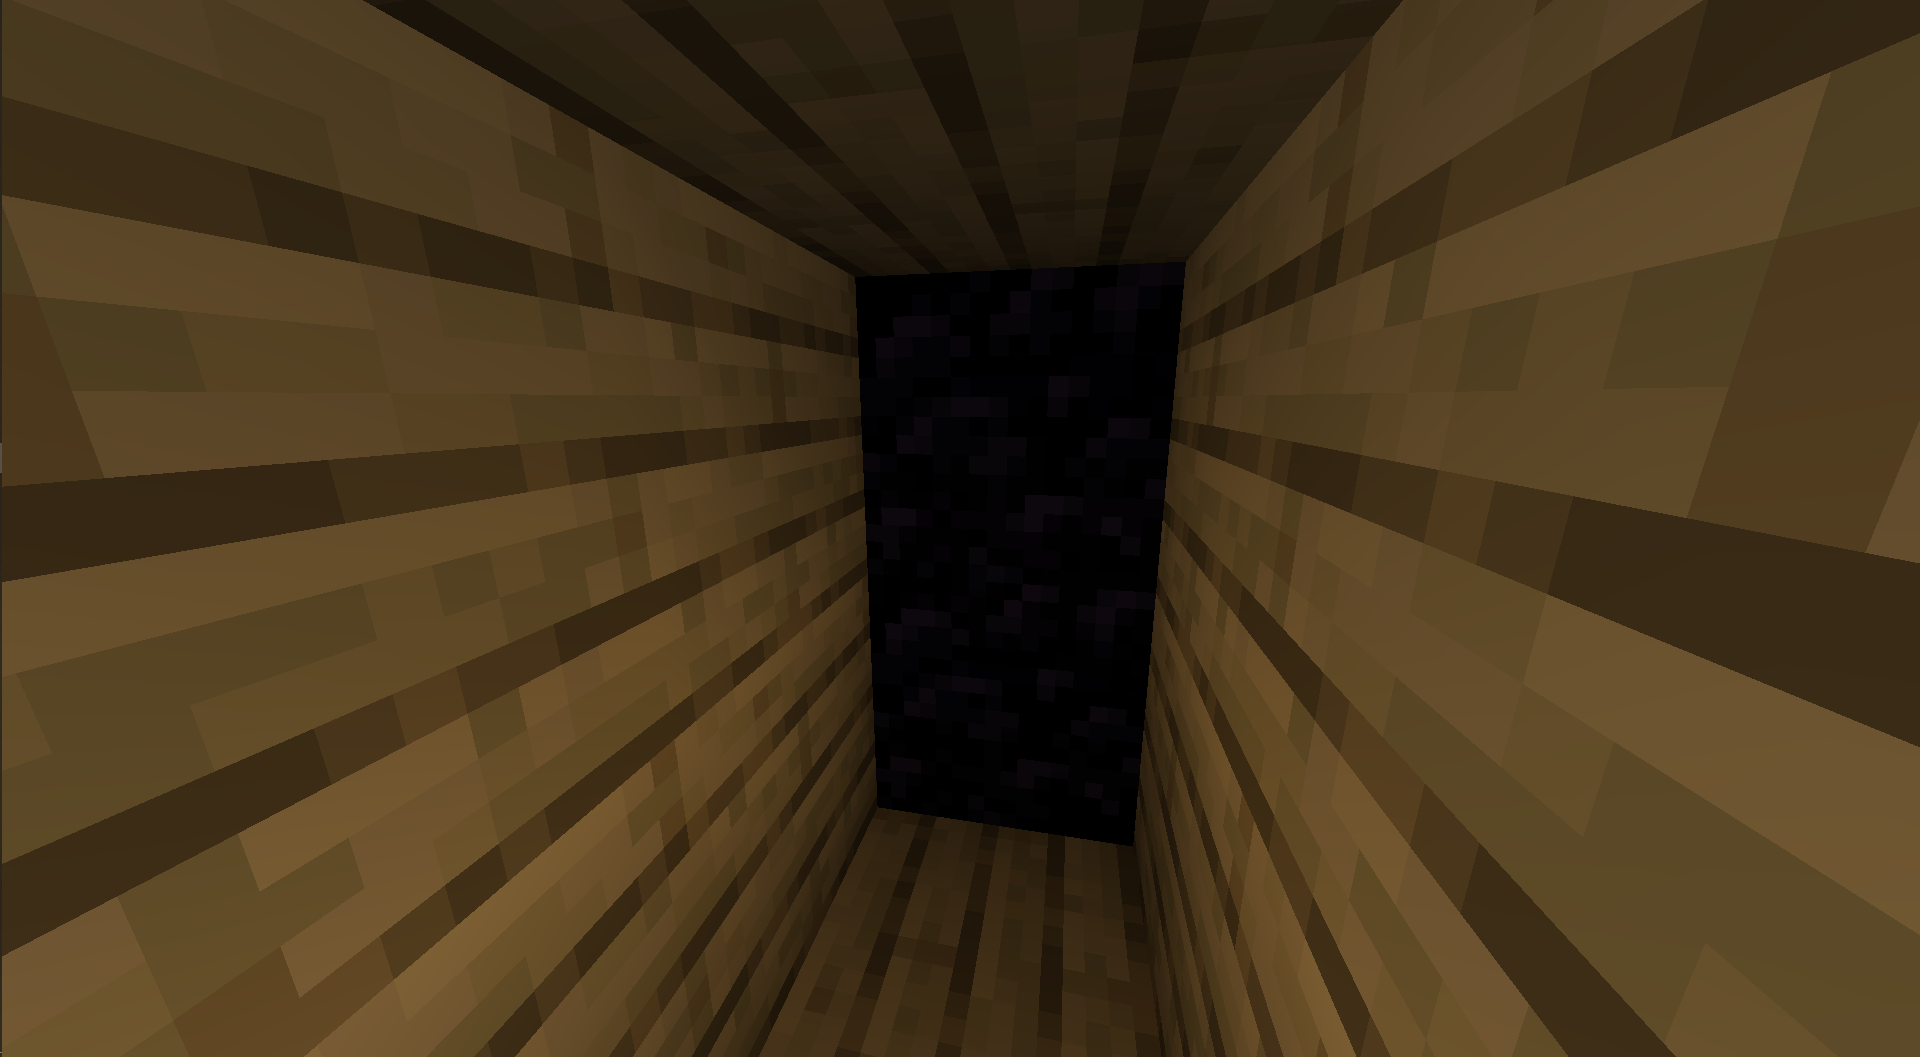
Lets first conceal our structure so that they don't suspect a thing:
Then, to figure out what blocks we'll need to place, lets run a utility script:
client.watchAll();
client.on('block update', (cause, block, x, y, z) => {
  console.log({ cause, block, x, y, z });
});
And then place some blocks:
{ cause: 'place', block: 'minecraft:cobblestone', x: 1, y: 1, z: 1 }
{ cause: 'place', block: 'minecraft:cobblestone', x: 1, y: 2, z: 1 }
Excellent. Let's prepare our trap and await our victim...
const ReplCraft = require('./lib/replcraft.js');
const sleep = ms => new Promise(res => setTimeout(res, ms));
(async () => {
  let client = new ReplCraft();
  await client.login(process.env.token);

  while(true) {
    let entities = await client.getEntities();
    let has_victim = entities.some(entity => {
      return (
        entity.type == 'PLAYER' && // Look for players...
        entity.name == 'eelblock' && // Named "eelblock"...
        entity.x <= 1 // And then wait for them to get all the way inside
      )
    });
    if (has_victim) break; // We've got him!
    await sleep(1000); // Nobody here, let's check again later...
  }

  // The trap is sprung!
  client.setBlock(1, 1, 1, 'minecraft:obsidian' /* indestructible! */);
  client.setBlock(1, 2, 1, 'minecraft:obsidian');
})();
Curses! Foiled again!
Though it seems our trap isn't very useful after all. They've just teleported /home - oops!
Listening for redstone
Unfortunately, getEntities() is an expensive API call! To make it cheaper, we can utilize regular old pressure plates and redstone. watch is capable of observing redstone-related block updates, which allows us to efficiently watch redstone-enabled blocks such as a redstone lamp.
First, lets use our utility script again and place a redstone lamp:
{ cause: 'place', block: 'minecraft:redstone_lamp[lit=false]', x: 0, y: 0, z: 1 }
We can now watch that lamp, and take an action when something triggers the pressure plate.
// ...
await client.watch(0, 0, 1);
client.on('block update', async (cause, block, x, y, z) => {
  if (block == 'minecraft:redstone_lamp[lit=true]') {
    // Spring the trap! Or do other things!
  }
});
Automatic crafting
Lets automate some crafting. Replcraft provides the craft(x, y, z, itemRef[]) method which takes a destination for the crafted item and nine item references. An item reference is an object of the form { x, y, z, index }, referring to the coordinates of the chest containing the ingredient and the slot index in that chest. The list of item references must be nine nullable item references long, and corresponds to a 3x3 crafting table grid.
In order to find item references, you can use the getInventory(x, y, z) method, which returns an array of { index, type, amount } describing the items in a given container.
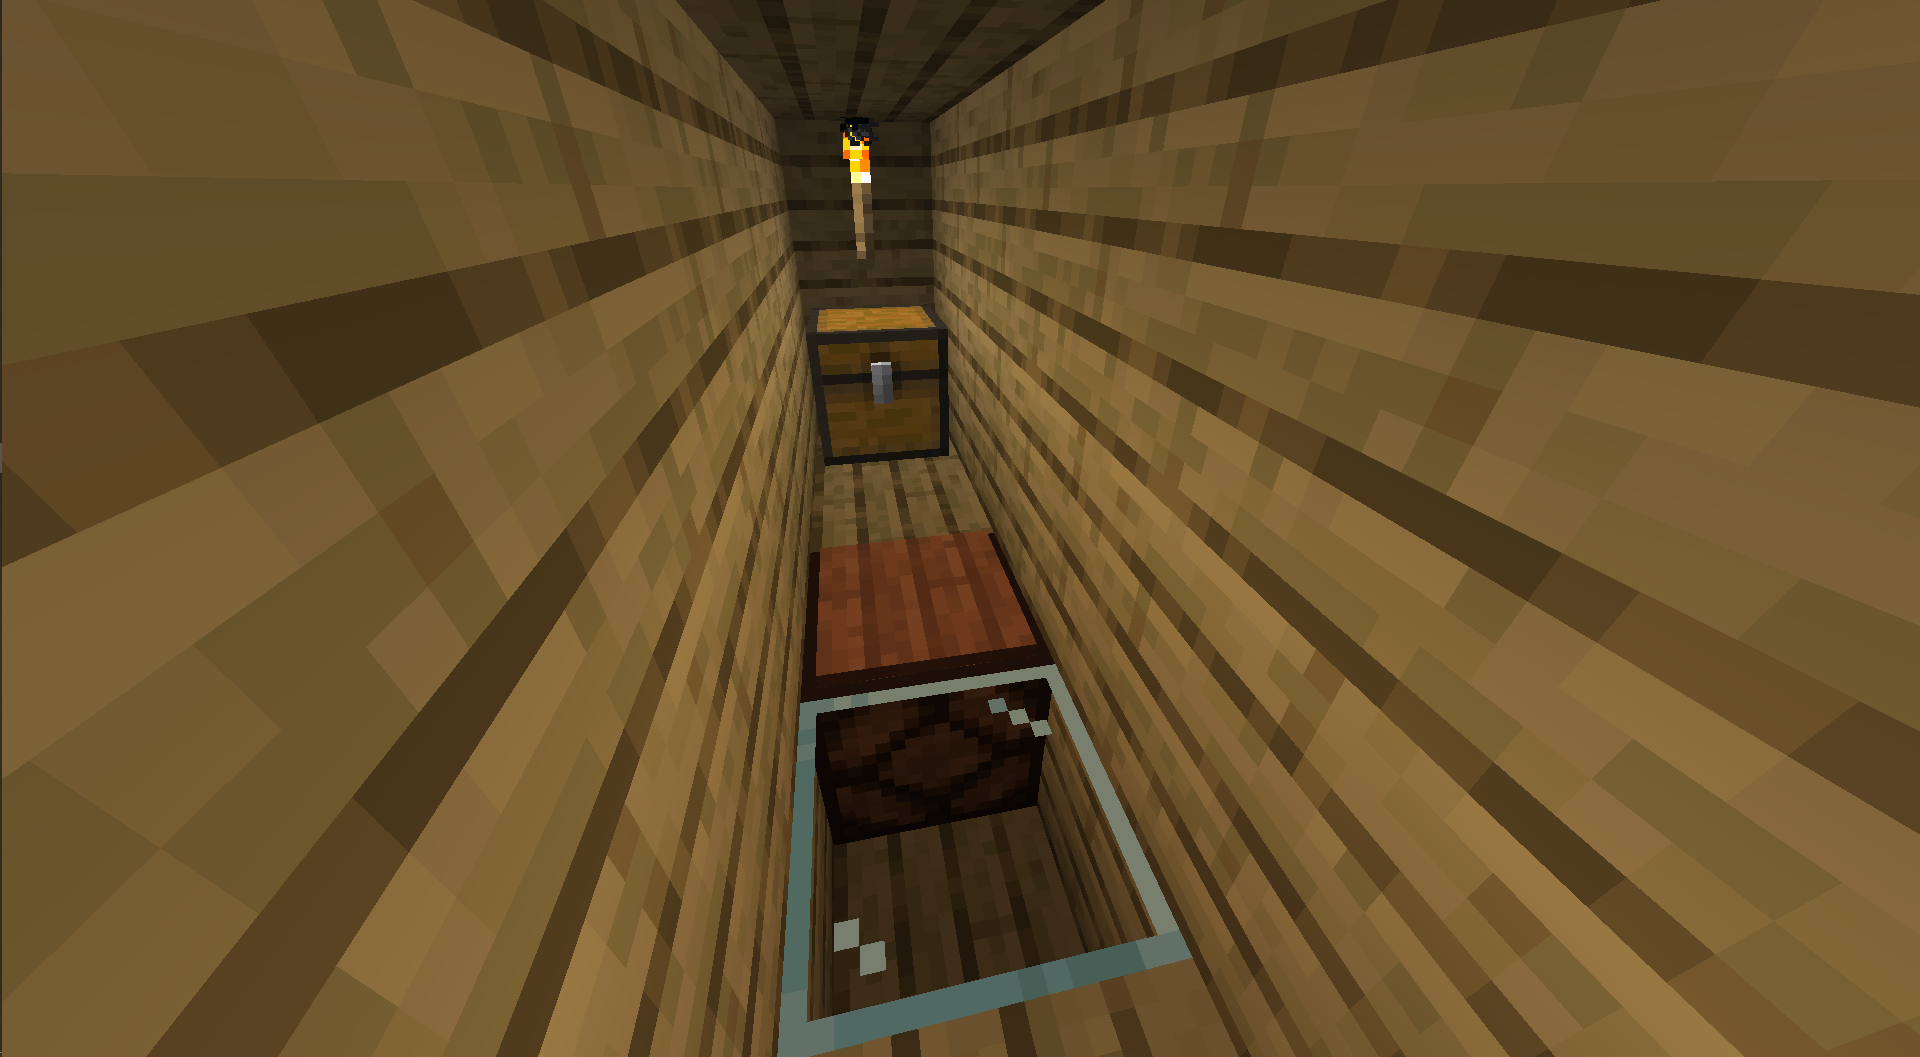
Here's our setup:
First of all, let's define some recipes. A quick word of warning: recipes must exactly match their vanilla definitions, and can't be shifted around like they can in a regular crafting table. Try moving the recipe to the left or flipping it horizontally if you're having trouble getting it to work.
let cobble = 'minecraft:cobblestone';
let stick = 'minecraft:stick';
let recipes = {
  sword: [
    cobble, null, null,
    cobble, null, null,
    stick , null, null
  ],
  // ...
}
Then, describe where to find the items:
let items = {
  'minecraft:cobblestone': {
    location: [0, 0, 1],
    stacks: await client.getInventory(0, 0, 1)
  },
  'minecraft:stick': {
    location: [0, 0, 2],
    stacks: await client.getInventory(0, 0, 2)
  }
}
And now, put it all together. For each item, look up its ingredient in the items table, do some quick math to make sure there's enough, then commit the crafting operation:
const ReplCraft = require('./lib/replcraft.js');
(async () => {
  let client = new ReplCraft();
  await client.login(process.env.token);

  let cobble = 'minecraft:cobblestone';
  let stick = 'minecraft:stick';
  let tools = {
    sword: [
      cobble, null, null,
      cobble, null, null,
      stick , null, null
    ],
    pickaxe: [
      cobble, cobble, cobble,
      null  , stick , null  ,
      null  , stick , null
    ],
    shovel: [
      cobble, null, null,
      stick , null, null,
      stick , null, null
    ],
    axe: [
      cobble, cobble, null,
      cobble, stick , null,
      null  , stick , null
    ]
  };

  let items = {
    'minecraft:cobblestone': {
      location: [0, 0, 1],
      stacks: await client.getInventory(0, 0, 1)
    },
    'minecraft:stick': {
      location: [0, 0, 2],
      stacks: await client.getInventory(0, 0, 2)
    }
  }

  for (let [tool, ingredients] of Object.entries(tools)) {
    console.log("Crafting", tool);
    await client.craft(0, 0, 0, ingredients.map(itemType => {
      if (itemType == null) return null;

      let item = items[itemType].stacks.filter(item => {
        return item.type == itemType && item.amount > 0;
      })[0];
      if (!item) throw new Error(`Out of ${itemType}`);
      item.amount -= 1;

      let [x, y, z] = items[itemType].location;
      return { index: item.index, x, y, z };
    }));
  }
})();
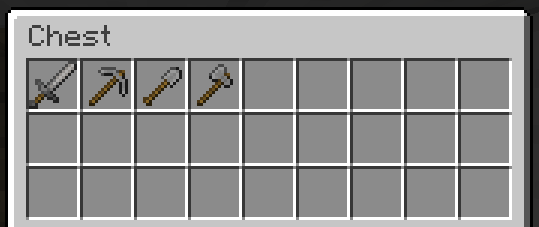
Excellent! This script will only make one of each tool, but you can modify it to watch the chest and keep it restocked. You could also experiment with automating the entire pipeline, running a tree farm and cobblestone generator to supply the raw materials.
Advanced building: Cut and paste
Are you bored of your current environment? Let's move your entire base somewhere else! To make this scheme even more interesting, we'll use minecarts to automatically move lots of material long distances.
Here's our setup:
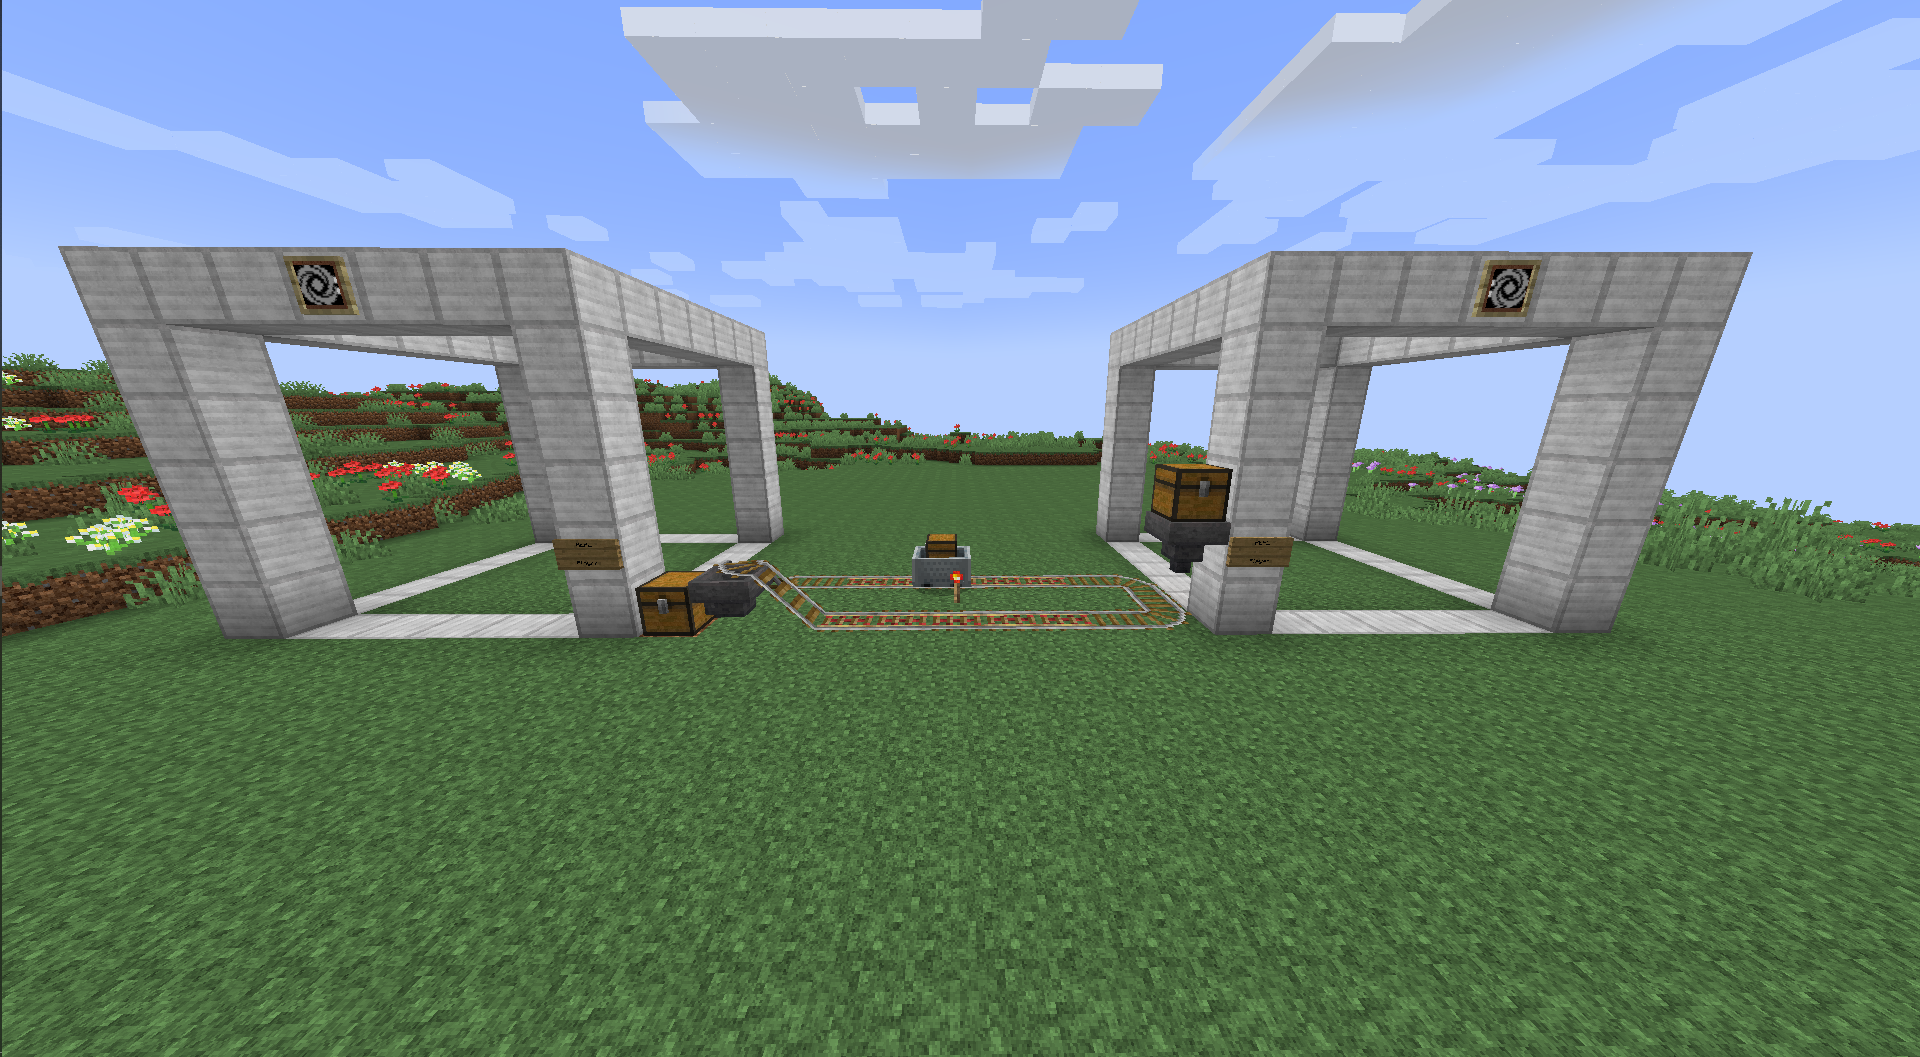
In order to move our house, we're going to check what each block is, remove the block, wait for the minecart to transport it, and finally place it in the other structure. We'll also need to make two seperate clients, one for each structure.
To iterate the whole structure, we can use the getSize() API to retrieve its interior dimensions. Then, for each block, move it to the other structure. This means we'll have to break it, wait for the minecart to transport it, and then place it again on the other side.
Let's try it:
const ReplCraft = require('./lib/replcraft.js');

const sleep = ms => new Promise(res => setTimeout(res, ms));
let sourceClient = new ReplCraft();
let destClient = new ReplCraft();

(async () => {
  await sourceClient.login(process.env.tokenSource);
  await destClient.login(process.env.tokenDest);

  let [size_x, size_y, size_z] = await destClient.getSize();

  for (let y = 0; y < size_y; y++) {
    for (let x = 0; x < size_x; x++) {
      for (let z = 0; z < size_z; z++) {
        let block = await sourceClient.getBlock(x, y, z);
        await sourceClient.setBlock(x, y, z, 'minecraft:air');
        // Wait for the minecart to make a roundtrip.
        // If you're particularly inventive, you can figure out how to
        // use redstone signals or container checking to determine when
        // the items have arrived, or use more minecarts to deliver them faster.
        await sleep(5000);
        try {
         await destClient.setBlock(x, y, z, block);
        } catch(ex) {
         console.log(`Failed to move block at ${x} ${y} ${z}: ${ex}`);
        }
      }
    }
  }
})()
Let's try it!
A timelapse of one structure's contents being moved into the other
It works! Unfortunantly, it's not perfect and we've lost some glass blocks:
Error: invalid operation: No GLASS available in any attached chests. @ (0, 1, 2)
Error: invalid operation: No GLASS available in any attached chests. @ (2, 1, 0)
Error: invalid operation: No GLASS available in any attached chests. @ (2, 1, 4)
When breaking blocks, normal Minecraft rules apply. Stone becomes cobblestone, and glass shatters. You'll have to find an alternate source of glass, or accept the lost blocks. The roof blocks have also slightly deformed because stairs change their connections when their neighbors are broken. We could fix this by scanning the whole structure in advance.
Advanced building: Drawing images
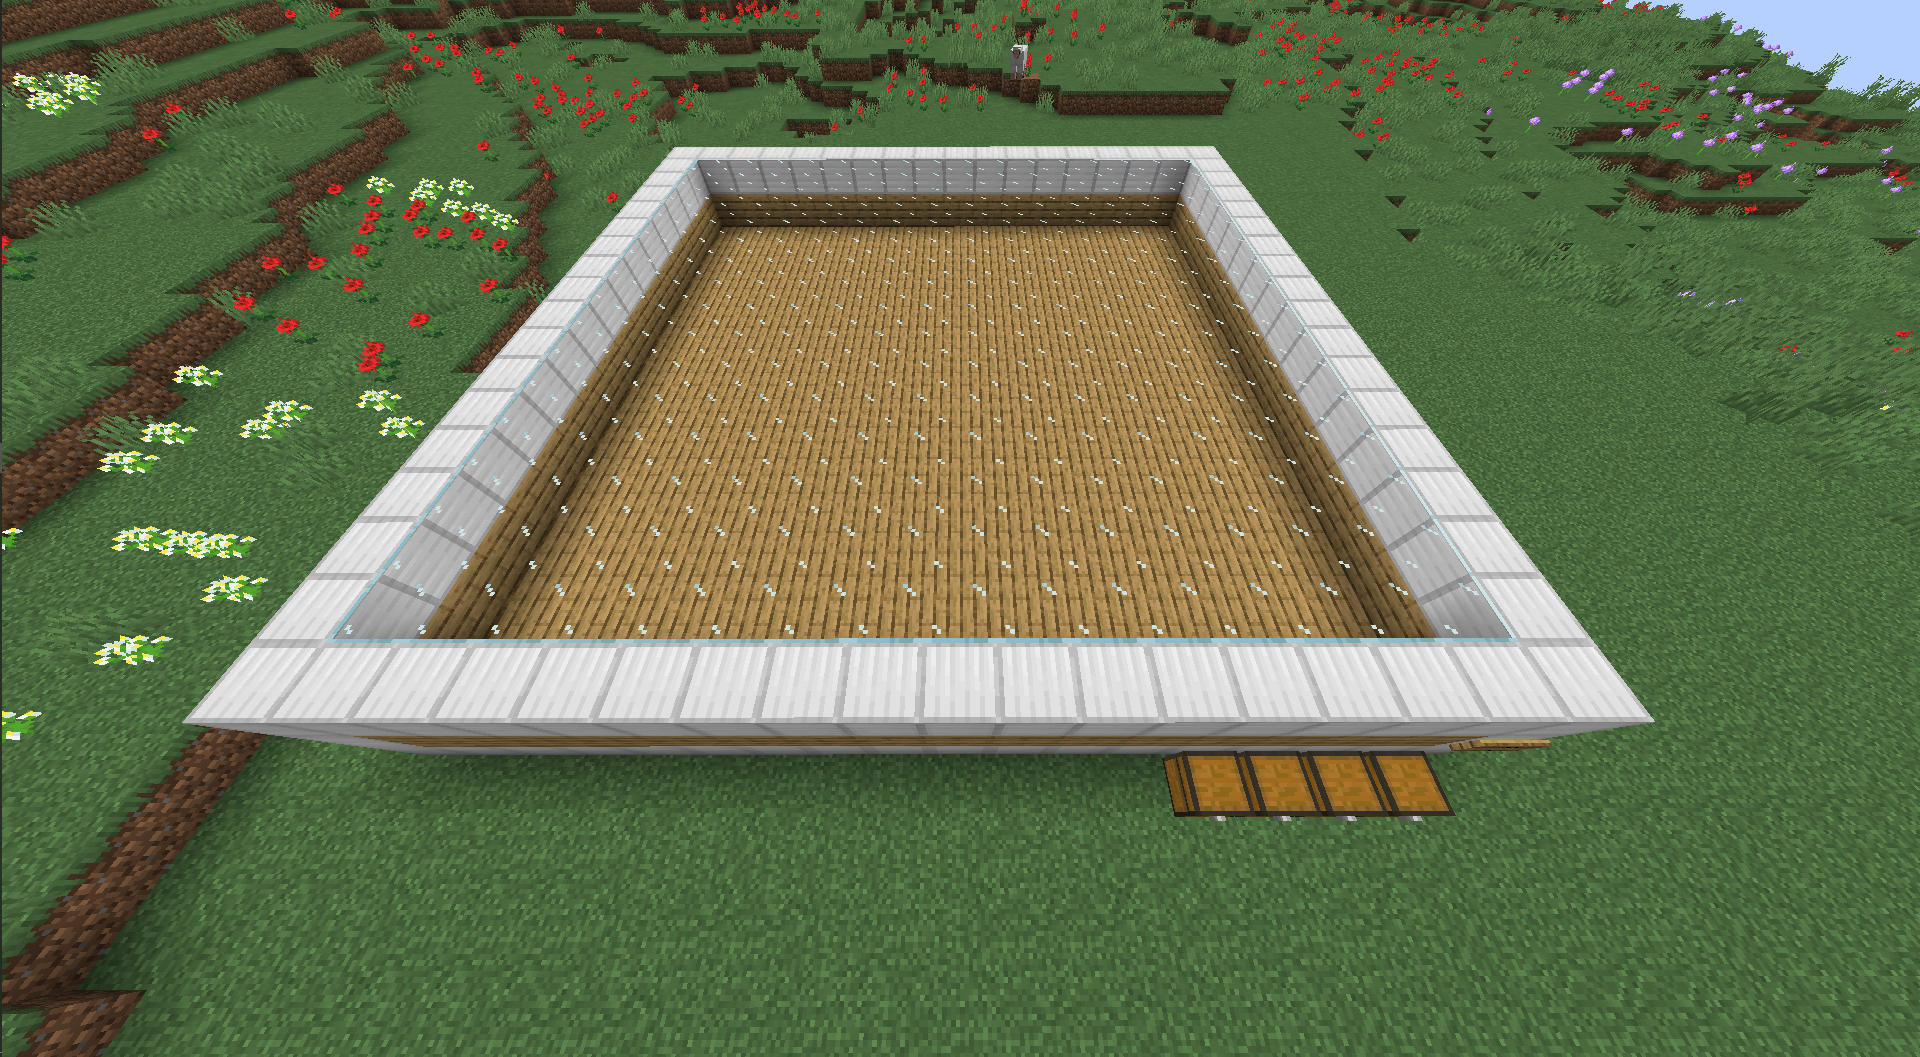
Lets try something a little more artistic. Start off with a 16x1x16 structure, and add at least four stacks of each color of wool to chests connected to the structure.
Now we'll need to figure out what color the various wool blocks are. This answer provides a list we can use. Let's convert that into a more useful format. We can use this regular expression and replacement rule to convert the list into psuedo-json:
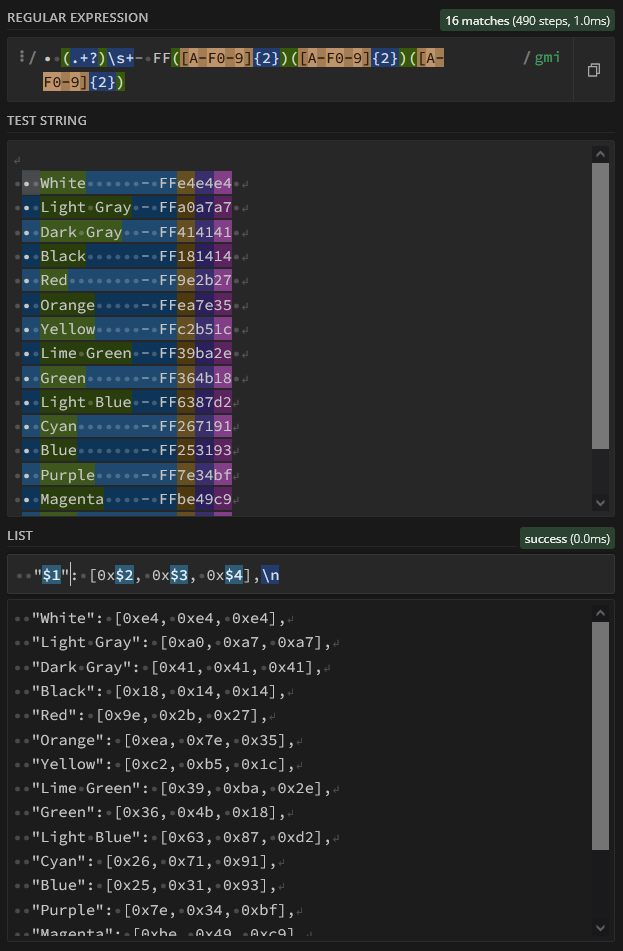
Then we can convert our psuedo-json into actual json and then from an array into an object by writing a bit of javascript around it. Note that we've split our hex color into three hex numbers, and then added 0x in front of them so that javascript will recognize them as numeric hex literals.
console.log(JSON.stringify(Object.fromEntries([
  ["White", 0xe4, 0xe4, 0xe4],
  ["Light Gray", 0xa0, 0xa7, 0xa7],
  ["Dark Gray", 0x41, 0x41, 0x41],
  ["Black", 0x18, 0x14, 0x14],
  ["Red", 0x9e, 0x2b, 0x27],
  ["Orange", 0xea, 0x7e, 0x35],
  ["Yellow", 0xc2, 0xb5, 0x1c],
  ["Lime Green", 0x39, 0xba, 0x2e],
  ["Green", 0x36, 0x4b, 0x18],
  ["Light Blue", 0x63, 0x87, 0xd2],
  ["Cyan", 0x26, 0x71, 0x91],
  ["Blue", 0x25, 0x31, 0x93],
  ["Purple", 0x7e, 0x34, 0xbf],
  ["Magenta", 0xbe, 0x49, 0xc9],
  ["Pink", 0xd9, 0x81, 0x99],
  ["Brown", 0x56, 0x33, 0x1c],
].map(([color, r, g, b]) => {
  return [
    'minecraft:' + color.toLowerCase().replace(/\s/, '_') + '_wool',
    [r, g, b]
  ];
}))));
We can then take the output from that command, and do a few more edits by hand to tidy it up:
let wools = {
  "minecraft:white_wool": [228,228,228],
  "minecraft:light_gray_wool": [160,167,167],
  "minecraft:gray_wool": [65,65,65], // dark_gray is actually just gray
  "minecraft:black_wool": [24,20,20],
  "minecraft:red_wool": [158,43,39],
  "minecraft:orange_wool": [234,126,53],
  "minecraft:yellow_wool": [194,181,28],
  "minecraft:lime_wool": [57,186,46], // lime_green is actually just lime
  "minecraft:green_wool": [54,75,24],
  "minecraft:light_blue_wool": [99,135,210],
  "minecraft:cyan_wool": [38,113,145],
  "minecraft:blue_wool": [37,49,147],
  "minecraft:purple_wool": [126,52,191],
  "minecraft:magenta_wool": [190,73,201],
  "minecraft:pink_wool": [217,129,153],
  "minecraft:brown_wool": [86,51,28]
};
Reading the image
We're going to use the Jimp library to read an image and rescale it if necessary.
First, we need to load an image. Upload an image to your repl and then load it with Jimp:
let image = await Jimp.read('image.png');
image.resize(16, 16);
After that, we'll need to figure out what color of wool to use. To do that, we can compare our wool colors with the image colors, and pick the closest one. An easy way to do this is to treat both colors as coordinates and calculate the distance between them: distance = sqrt((x2 - x1)**2 + (y2 - y1)**2 + (z2 - z1)**2).
To find the closest points, calculate the distances for each possible color and take the shortest one:
let pixel = Jimp.intToRGBA(image.getPixelColor(x, y));
let { wool } = Object.entries(wools)
  .map(([wool, [r, g, b]]) => { // Calculate the distances
    let distance = Math.sqrt((pixel.r - r)**2 + (pixel.g - g)**2 + (pixel.b - b)**2);
    return { wool, distance };
  })
  .reduce((a, b) => { // Find the shortest distance
    return a.distance < b.distance ? a : b;
  });
Draw it!
Lets put all our code together and iterate over each block:
const ReplCraft = require('./lib/replcraft.js');
const Jimp = require('jimp');

let client = new ReplCraft();
let wools = {
  "minecraft:white_wool": [228,228,228],
  "minecraft:light_gray_wool": [160,167,167],
  "minecraft:gray_wool": [65,65,65],
  "minecraft:black_wool": [24,20,20],
  "minecraft:red_wool": [158,43,39],
  "minecraft:orange_wool": [234,126,53],
  "minecraft:yellow_wool": [194,181,28],
  "minecraft:lime_wool": [57,186,46],
  "minecraft:green_wool": [54,75,24],
  "minecraft:light_blue_wool": [99,135,210],
  "minecraft:cyan_wool": [38,113,145],
  "minecraft:blue_wool": [37,49,147],
  "minecraft:purple_wool": [126,52,191],
  "minecraft:magenta_wool": [190,73,201],
  "minecraft:pink_wool": [217,129,153],
  "minecraft:brown_wool": [86,51,28]
};

(async () => {
  let image = await Jimp.read('image.png');
  image.resize(16, 16);

  await client.login(process.env.token);
  let [size_x, _, size_z] = await client.getSize();

  let promises = [];
  for (let x = 0; x < size_x; x++) {
    for (let z = 0; z < size_z; z++) {
      let pixel = Jimp.intToRGBA(image.getPixelColor(x, z));
      let { wool } = Object.entries(wools)
        .map(([wool, [r, g, b]]) => {
          let distance = Math.sqrt((pixel.r - r)**2 + (pixel.g - g)**2 + (pixel.b - b)**2);
          return { wool, distance };
        })
        .reduce((a, b) => {
          return a.distance < b.distance ? a : b;
        });
      promises.push(client.setBlock(x, 0, z, wool));
    }
  }
  await Promise.all(promises);
  console.log("Done!");
})();
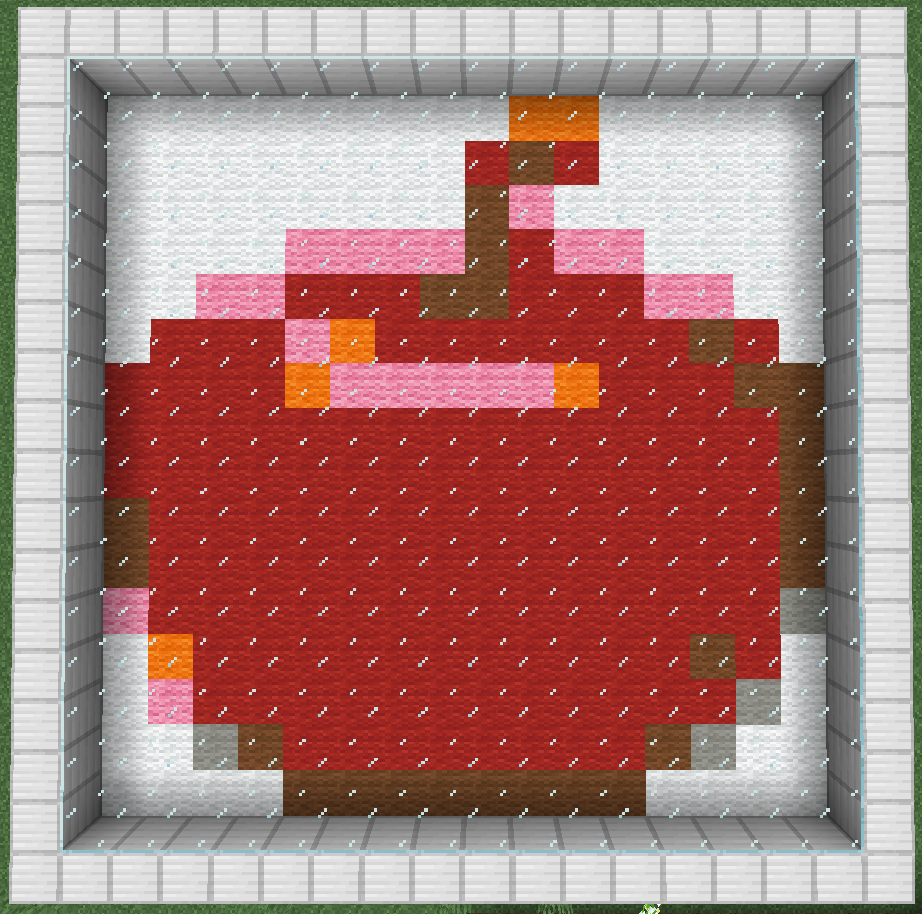
Great success!
Side note: Fuel
ReplCraft has a concept of fuel, which you use to power API requests. If you run out of fuel, your client library will start throwing errors. Fuel is optional and can be provided by multiple configurable sources, but this tutorial assumes it's disabled.
Three fuel strategies exist and can be configured by server owners:
- Item strategies, requiring you to burn items in a structure's inventory to power requests. For example, 1 gold nugget might be configured to provide 100 fuel.
- Ratelimit strategies, which provide a set amount of fuel per time period. These just exist to prevent you from spamming the server with API calls.
- Economy strategies, which use in-game currency to pay for API calls.
If you see errors referencing these strategies, you'll need to offer up the appropriate fuel. You can make your script wait for fuel to become available instead of throwing errors by setting client.retryOnFuelError(true). You can also monitor for fuel exhaustion via client.on("outOfFuel", ex => { /* ... */ }).
Going further
You now know how to make lots of stuff with Replcraft, but that's only the beginning.
ReplCraft can be used to automate lots of things. Create automated farms, expose redstone over HTTP, create a clever escape room, automatically craft items, build an interactive game inside Minecraft, manipulate ChestShop prices, etc. However, it's limited to anything you can build a structure around, and it requires you to manage the supply of blocks!
Bot libraries such as Mineflayer allow you to do anything a regular player can (but may be against the rules on many servers), and learning how to make mods with the Spigot, Forge or Fabric APIs can give you much more control over the game itself.
Minecraft is a highly customizable game, and if you're interested in seeing more Minecraft related content or an official Replit community Minecraft server running Replcraft, please leave a comment on this repl.