
With many development tools and even whole development environments moving to the cloud, Replit is at the forefront of this change.
Replit is one of the leading cloud, in-browser IDEs with support for fifty-plus programming languages with syntax highlighting and intelligent autocompletion.
However, Replit is more than just an IDE in a cloud. With additional features like real-time collaboration, GitHub integration, and detailed edit history, Replit is a full-blown workspace for teams, educators, and interviewers.
This guide will show you how to install Mastodon in the Replit environment, showing its versatility and potential.You can follow along with this Repl.
What Is Mastodon?
Before we start, let me introduce you to Mastodon: an open-source social networking software.
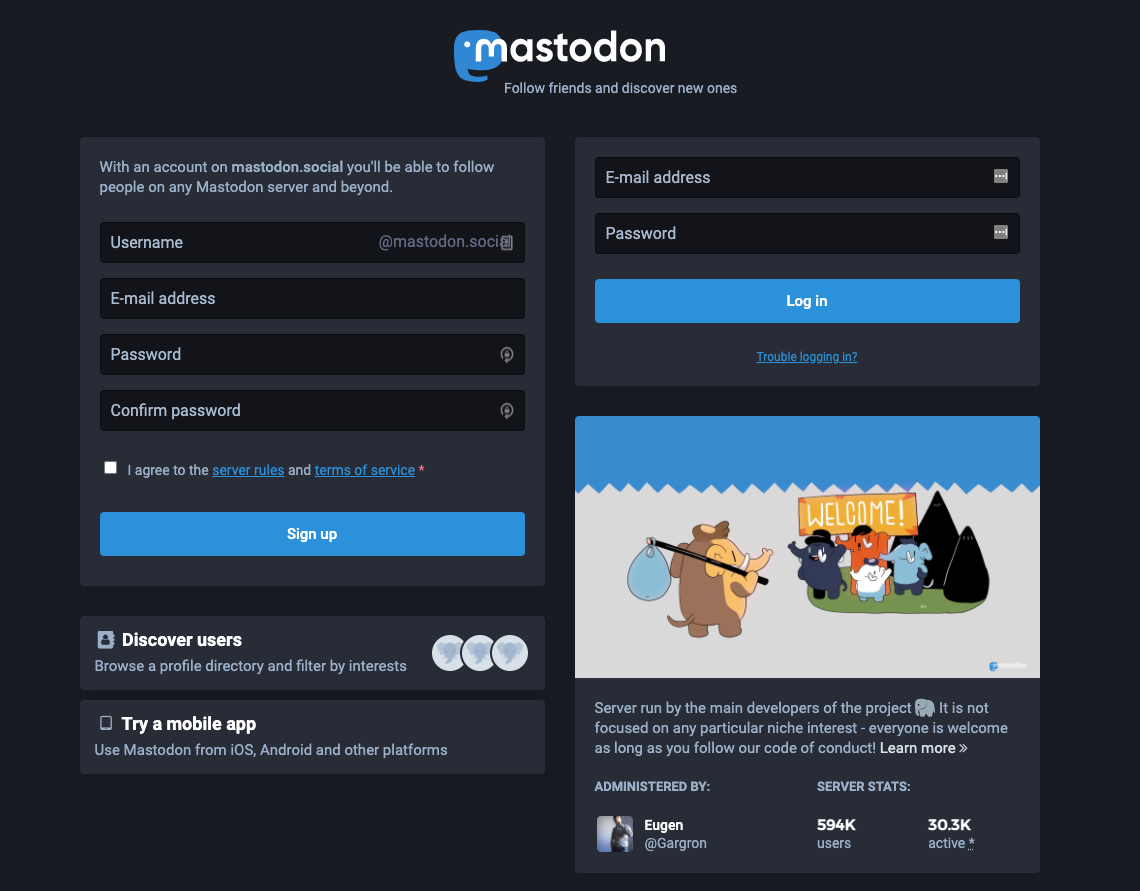
Mastodon’s goal is to move social networking back into the hands of people. It’s an alternative to the likes of Twitter, focused primarily on microblogging. With anti-abuse tools, a feature-packed admin dashboard, and tons of social-networking features, Mastodon is an excellent choice for individual or business use.
On top of being open-source, Mastodon is built on open standards like ActivityPub, meaning there’s no lock-in. Thanks to such architecture, you can quickly transfer your data to other services supporting ActivityPub, if you ever choose to.
Installing Mastodon in Replit
Because Mastodon is a complex piece of software involving Redis, PostgreSQL, a Ruby backend, and a React frontend, installing it in a limited environment without root access, such as Replit, can be challenging. Thankfully, with recent updates, Replit now allows you to run Nix—a declarative, reproducible OS package manager—which makes running even the most complex apps on Replit possible.
Creating Repl
If you haven’t already, first create a Replit account. Then, start by creating a new Nix Repl.
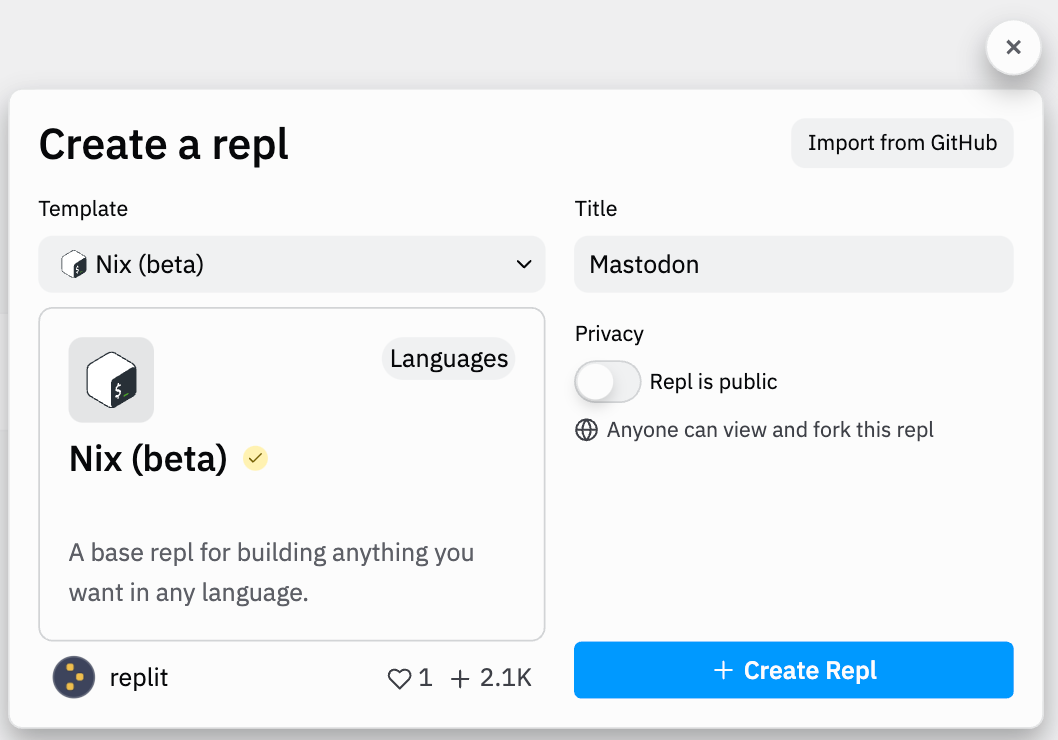
Two notes here:
- Although relatively stable, Nix support is still in beta, meaning you might encounter some unexpected issues.
- Mastodon installation is a resource-heavy process. It’s possible that during installation, a free Repl instance will run out of memory. Because of that, if you intend to play with Mastodon in Replit, it’s recommended that you upgrade to a paid plan and even boost your Repl.
Setting Up Config Files
In your new Repl, you should see two important files: .replit and replit.nix.
The .replit file defines the run command (executed upon clicking Run) and environment variables. For now, configure it as follows:
run = "sh start.sh"

[env]
RAILS_ENV="development"
The above config tells Replit to execute start.sh script on the Run action, and sets the RAILS\_ENV variable used by Mastodon to “development”, which is the mode it will run in.
The replit.nix file configures the Nix environment, like what packages to include.
{ pkgs }: {
    deps = [
        pkgs.ruby
        pkgs.postgresql
        pkgs.shared-mime-info
        pkgs.nodejs
        pkgs.yarn
        pkgs.imagemagick
        pkgs.ffmpeg
        pkgs.libpqxx
        pkgs.libxml2
        pkgs.libxslt
        pkgs.file
        pkgs.git
        pkgs.gpp
        pkgs.protobuf
        pkgs.pkg-config
        pkgs.gcc
        pkgs.autoconf
        pkgs.bison
        pkgs.openssl
        pkgs.libyaml
        pkgs.readline
        pkgs.zlib
        pkgs.ncurses
        pkgs.libffi
        pkgs.gdbm
        pkgs.redis
        pkgs.certbot
        pkgs.libidn
        pkgs.icu
        pkgs.jemalloc
    ];
}
The config is an anonymous function, taking pkgs as a parameter and returning a list of packages to be included. Above, I already defined most of the packages required by Mastodon.
shared-mime-info is a package required by one of Mastodon’s dependencies. With that said, the dependency can’t correctly detect the necessary package files. To resolve this issue, you’ll have to download the required file directly and place it at the root of your Repl. After that, set a FREEDESKTOP\_MIME\_TYPES\_PATH env variable in the .replit file to let the dependency know how to find it.
[env]
RAILS_ENV="development"
FREEDESKTOP_MIME_TYPES_PATH="/home/runner/${REPL_SLUG}/freedesktop.org.xml"
Above, REPL\_SLUG is a variable identifying your Repl’s slug and therefore folder name in the file system.
Installing Databases
Redis and Postgres are already included in the package list. However, to make them work properly without root access, you’ll need to configure some of their options.
To run Redis, put the following command in your start.sh script:
# start Redis
redis-cli shutdown
redis-server --bind 127.0.0.1 &
The \--bind parameter lets the Redis server know that it should listen to the requests coming only from the selected address. This will allow Replit to proxy your future NGINX setup to its preview URL without Redis taking over.
Postgres is a bit more complicated. To set it up, first, you’ll need to create a few folders and files inside your Repl:
data. Directory for storing Postgres databasespostgres. Directory for storing Postgres socket detailspostgresql.conf.tpl. Template file for providing Postgres configuration for later use
The postgresql.conf.tpl should look as follows:
listen_addresses = '127.0.0.1'
port = 5432
unix_socket_directories = 'replace_unix_dir'
In .replit, define two additional env variables to point Postgres to created directories. PGDATA sets Postgres data location, while DB\_HOST informs Mastodon where to look for the Postgres instance, as it’s not the default location.
PGDATA = "/home/runner/${REPL_SLUG}/data"
DB_HOST="/home/runner/${REPL_SLUG}/postgres"
Finally, in the start.sh right under Redis setup:
# start Postgres
pg_ctl stop

initdb -E UTF8
cp postgresql.conf.tpl data/postgresql.conf

socker_dir="\/home\/runner\/${REPL_SLUG}\/postgres"

sed -i "s/replace_unix_dir/${socker_dir}/" data/postgresql.conf

pg_ctl -l /home/runner/${REPL_SLUG}/postgresql.log start
The above script:
- Stops any running Postgres instances.
- Initializes Postgres database with UTF8 encoding (required for Mastodon).
- Copies the configuration template to its destination.
- Uses
sedto fill in requiredunix\_socket\_directoriesvalue. - Sets log file location and starts the database.
With the above changes in configuration files and directories, Postgres should run in Replit without issues.
Installing NGINX
Setting up NGINX is similar to the Postgres process. Start by creating the following files and directories:
cache. Directory for storing NGINX cache fileslogs. Directory for storing NGINX log filesmime.types. File defining MIME types used by NGINX (content available in NGINX’s GitHub repo)nginx.conf. NGINX configuration file
In nginx.conf, set the logs folder to the one created before, set server\_name to match your Replit URL (fill in \[REPL\_SLUG\] and \[USER\_SLUG\] placeholders), and configure NGINX to proxy requests to host 0.0.0.0 (required for Replit to proxy traffic) and port 3000 (default one for Mastodon).
worker_processes  1;

pid        /home/runner/Mastodon/logs/nginx.pid;

events {
    worker_connections  1024;
}

http {
    include       mime.types;
    default_type  application/octet-stream;

    access_log  /home/runner/Mastodon/logs/access.log;

    sendfile        on;

    keepalive_timeout  65;

    server {
        listen       8080;
        server_name  [REPL_SLUG].[USER_SLUG].repl.co;

        location / {
            proxy_set_header Host $http_host;
            proxy_pass   http://0.0.0.0:3000;
        }
    }

}
With this done, you’ll need to get back to replit.nix and include NGINX in the package list. However, it will require some additional configuration.
{ pkgs }:
let nginxModified = pkgs.nginx.overrideAttrs (oldAttrs: rec {
        configureFlags = oldAttrs.configureFlags ++ [
            "--http-client-body-temp-path=/home/runner/Mastodon/cache/client_body"
            "--http-proxy-temp-path=/home/runner/Mastodon/cache/proxy"
            "--http-fastcgi-temp-path=/home/runner/Mastodon/cache/fastcgi"
            "--http-uwsgi-temp-path=/home/runner/Mastodon/cache/uwsgi"
            "--http-scgi-temp-path=/home/runner/Mastodon/cache/scgi"
         ];
    });

in {
    deps = [
        nginxModified
        # ...
    ];

}
Your config function should now look similar to the previous code. The let keyword defines a local nginxModified variable containing the base NGINX package, configured with necessary flags. Other dependencies remain untouched under the deps list.
Finally, in the start.sh—after all database setup commands—kill any running NGINX processes and start a new one with error logs location and config file properly set.
# start Nginx
pkill nginx

nginx -e /home/runner/$REPL_SLUG/logs/error.log -c /home/runner/$REPL_SLUG/nginx.conf
Installing Mastodon
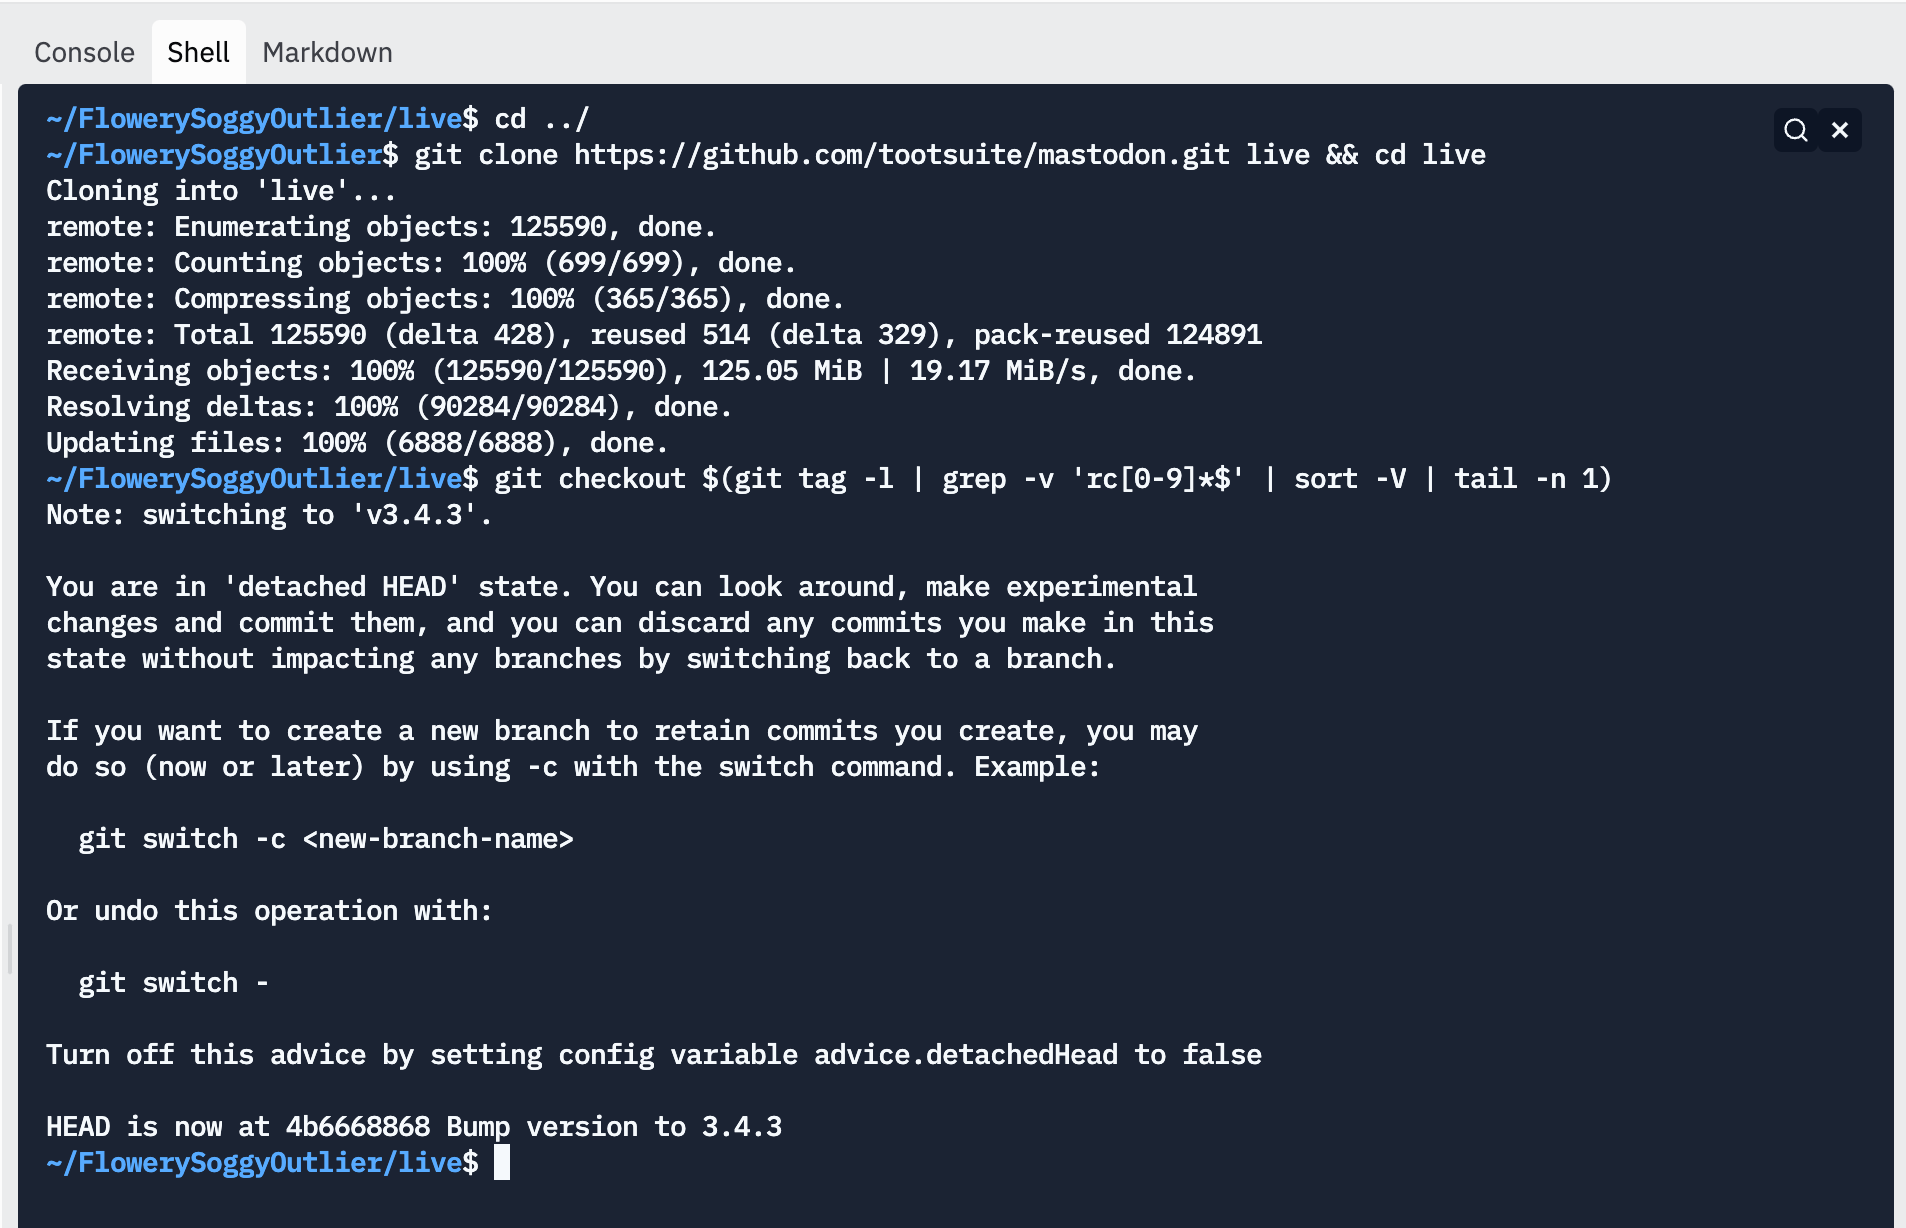
With all the packages successfully set up, you can now download, configure, and install Mastodon. Start by downloading Mastodon from its GitHub repo.
git clone https://github.com/mastodon/mastodon.git live && cd live
git checkout $(git tag -l | grep -v 'rc[0-9]*$' | sort -V | tail -n 1)
To run the above commands, open Replit Shell (either through a visible tab or Cmd/Ctrl + K and typing Open Shell.
To allow access to Mastodon through Replit URL in live/config/environments/development.rb, add the following line:
Rails.application.configure do
  # ...
  # Allow Replit hosts
  config.hosts << '.repl.co'
  #...
This will allow any URL ending with .repl.co to access Mastodon.
Lastly, add the following commands to start.sh to install dependencies, create a database schema, and run the Mastodon server.
cd live
bundle config with 'development'
bundle install
yarn install --pure-lockfile
bundle exec rails db:setup
bundle exec rails server & ./bin/webpack-dev-server
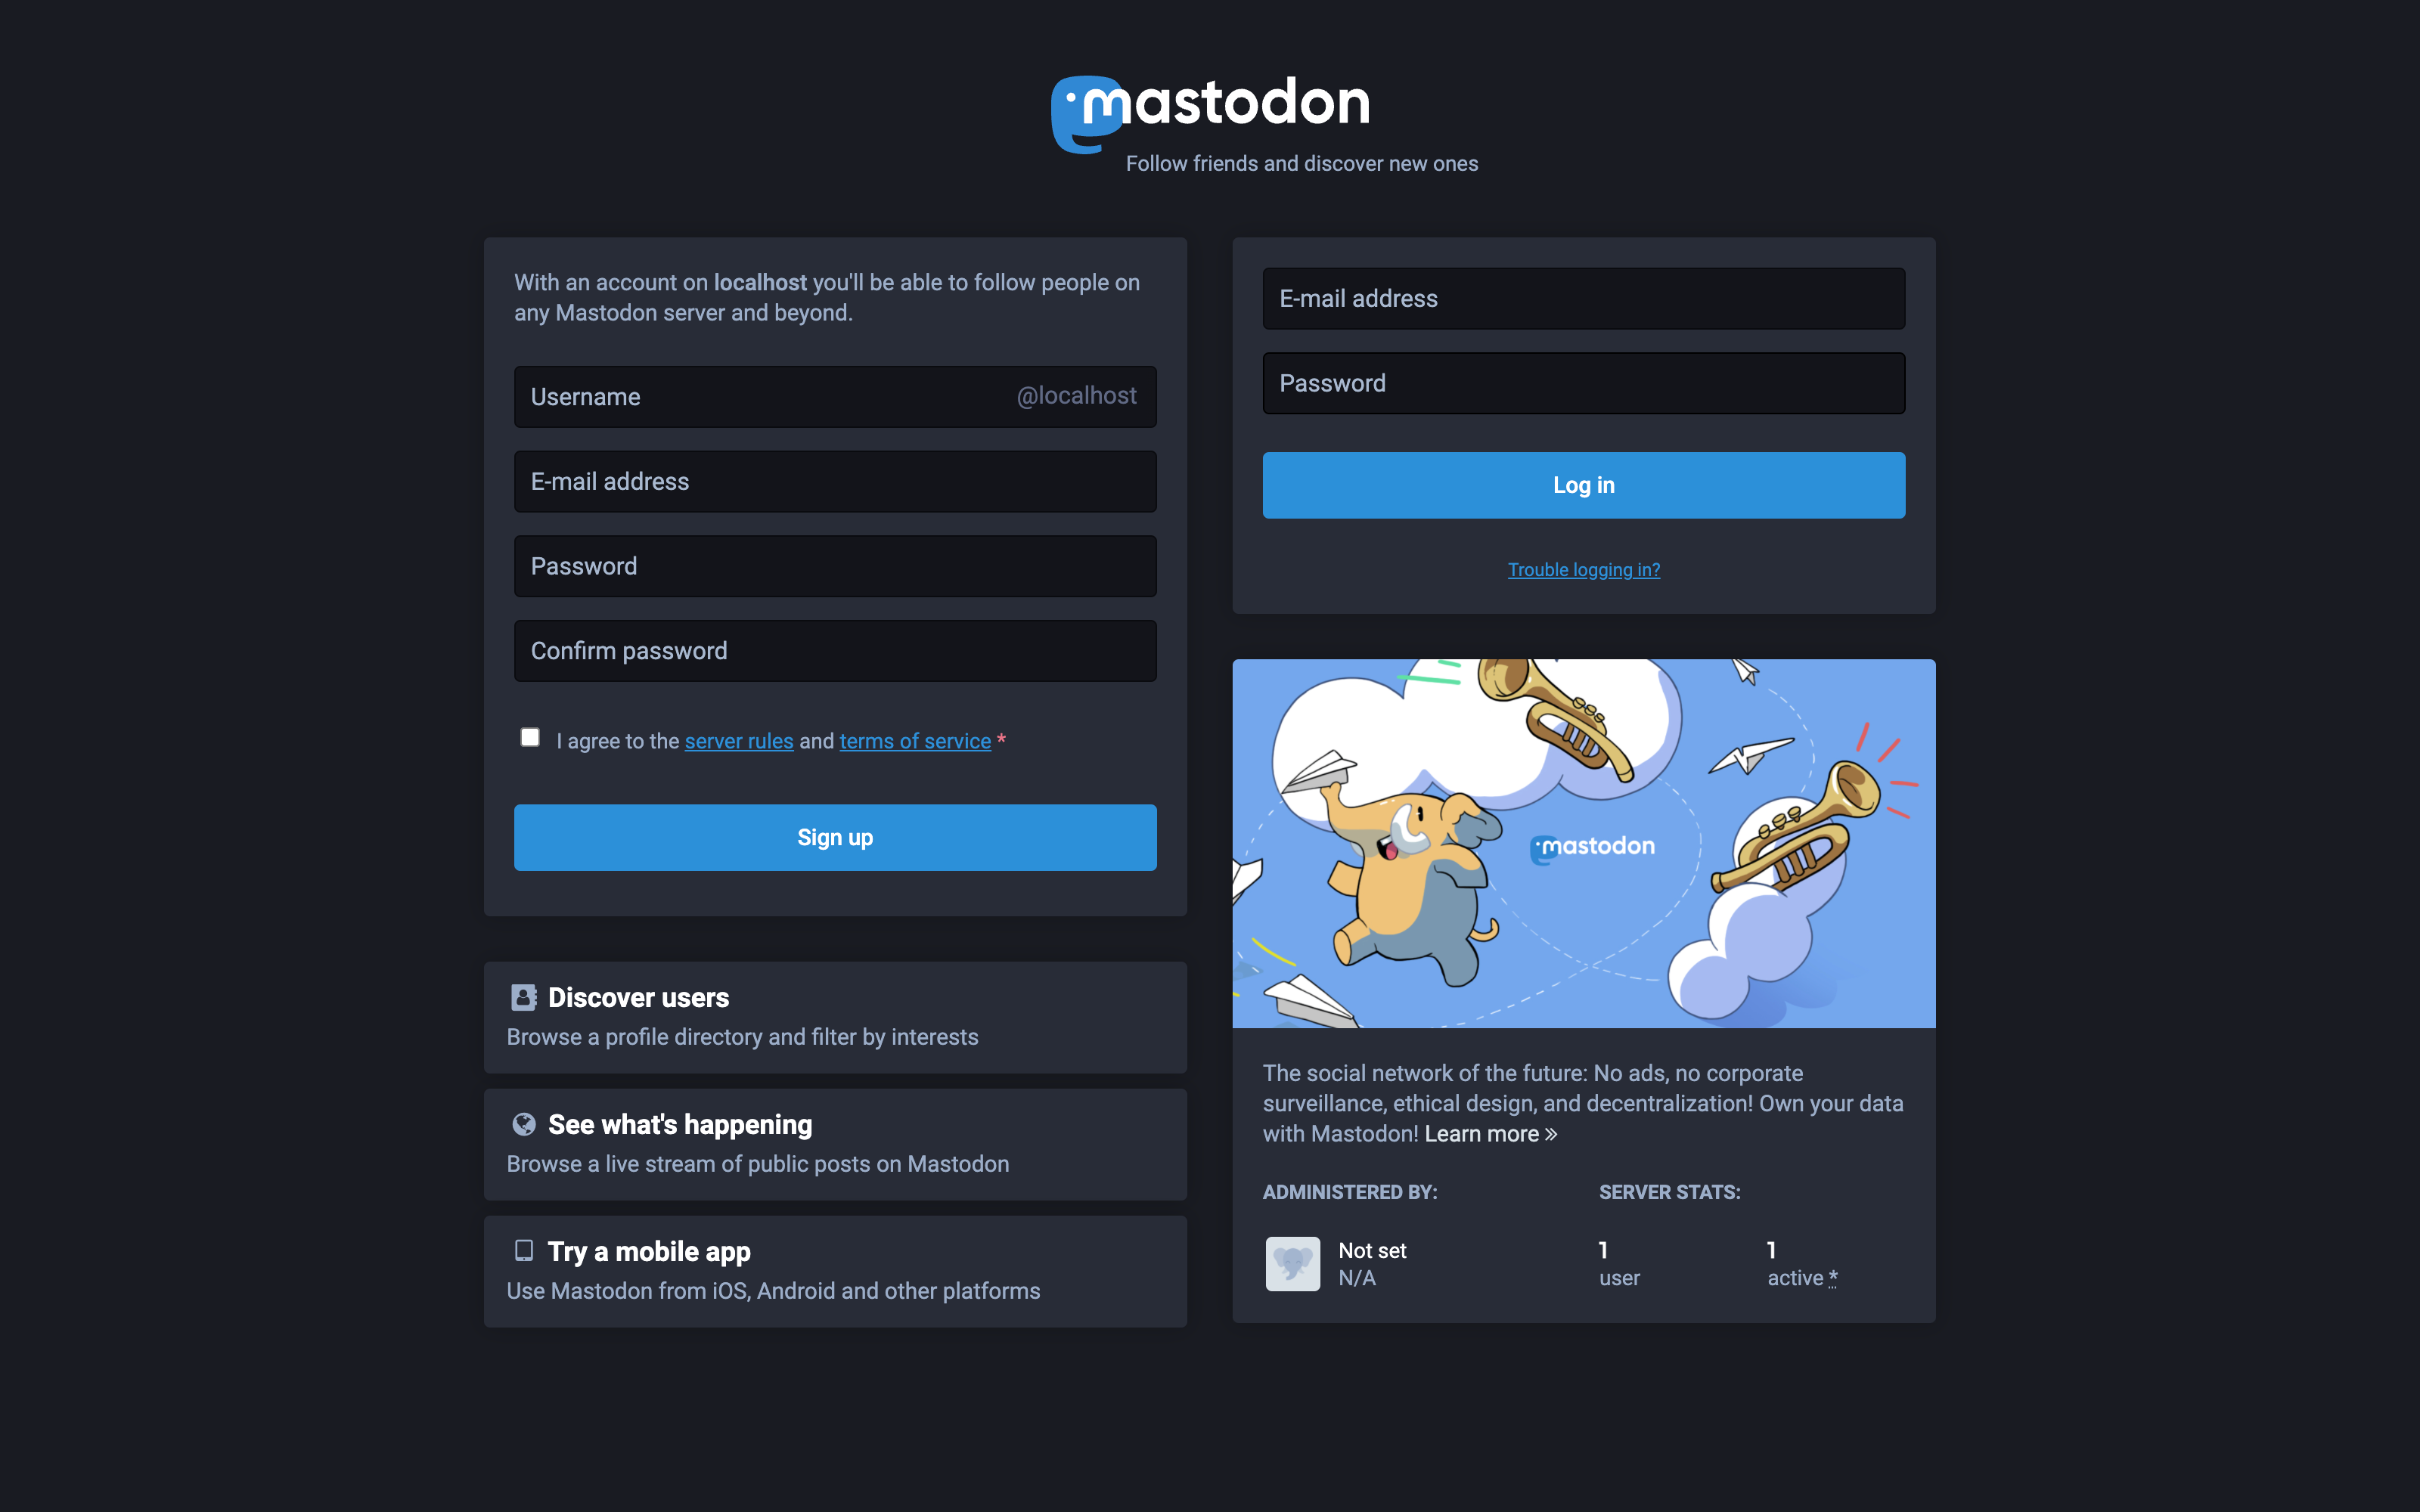
After you click Run, the script might take a while to execute. In the end, an HTTP preview should pop up, but due to Content Security Policy (CSP) restrictions, it won’t display any content. To get around that, click Open in a new tab, and your Mastodon instance should be now up and running!
Conclusion
In this guide, you’ve learned how to install Mastodon in Replit’s new Nix environment. Hopefully, this experience has shown you the potential of Replit and will inspire you to use the platform to create and run even more ambitious projects.