
With the emergence of blockchain technology, people can get paid from anywhere in the world. This type of transaction is revolutionary because we are able to send value from one person to another with no bank.
The day will come when it is cheaper and faster to send value (ETH, USDC, BTC, etc.) using blockchain than with the current payment system.
This post
This is a start-to-finish Python tutorial on how to send ETH from one wallet to another on Replit. At the time of writing, ETH is at an all-time-high (ATH) of $3,335.
To do this, we are going to use infura.io. Infura is a service that allows users to easily interact with a live Ethereum node. A node is a computer that participates in the Ethereum network. Alternatively, you could spin up your own node.
You can follow along with the code here.
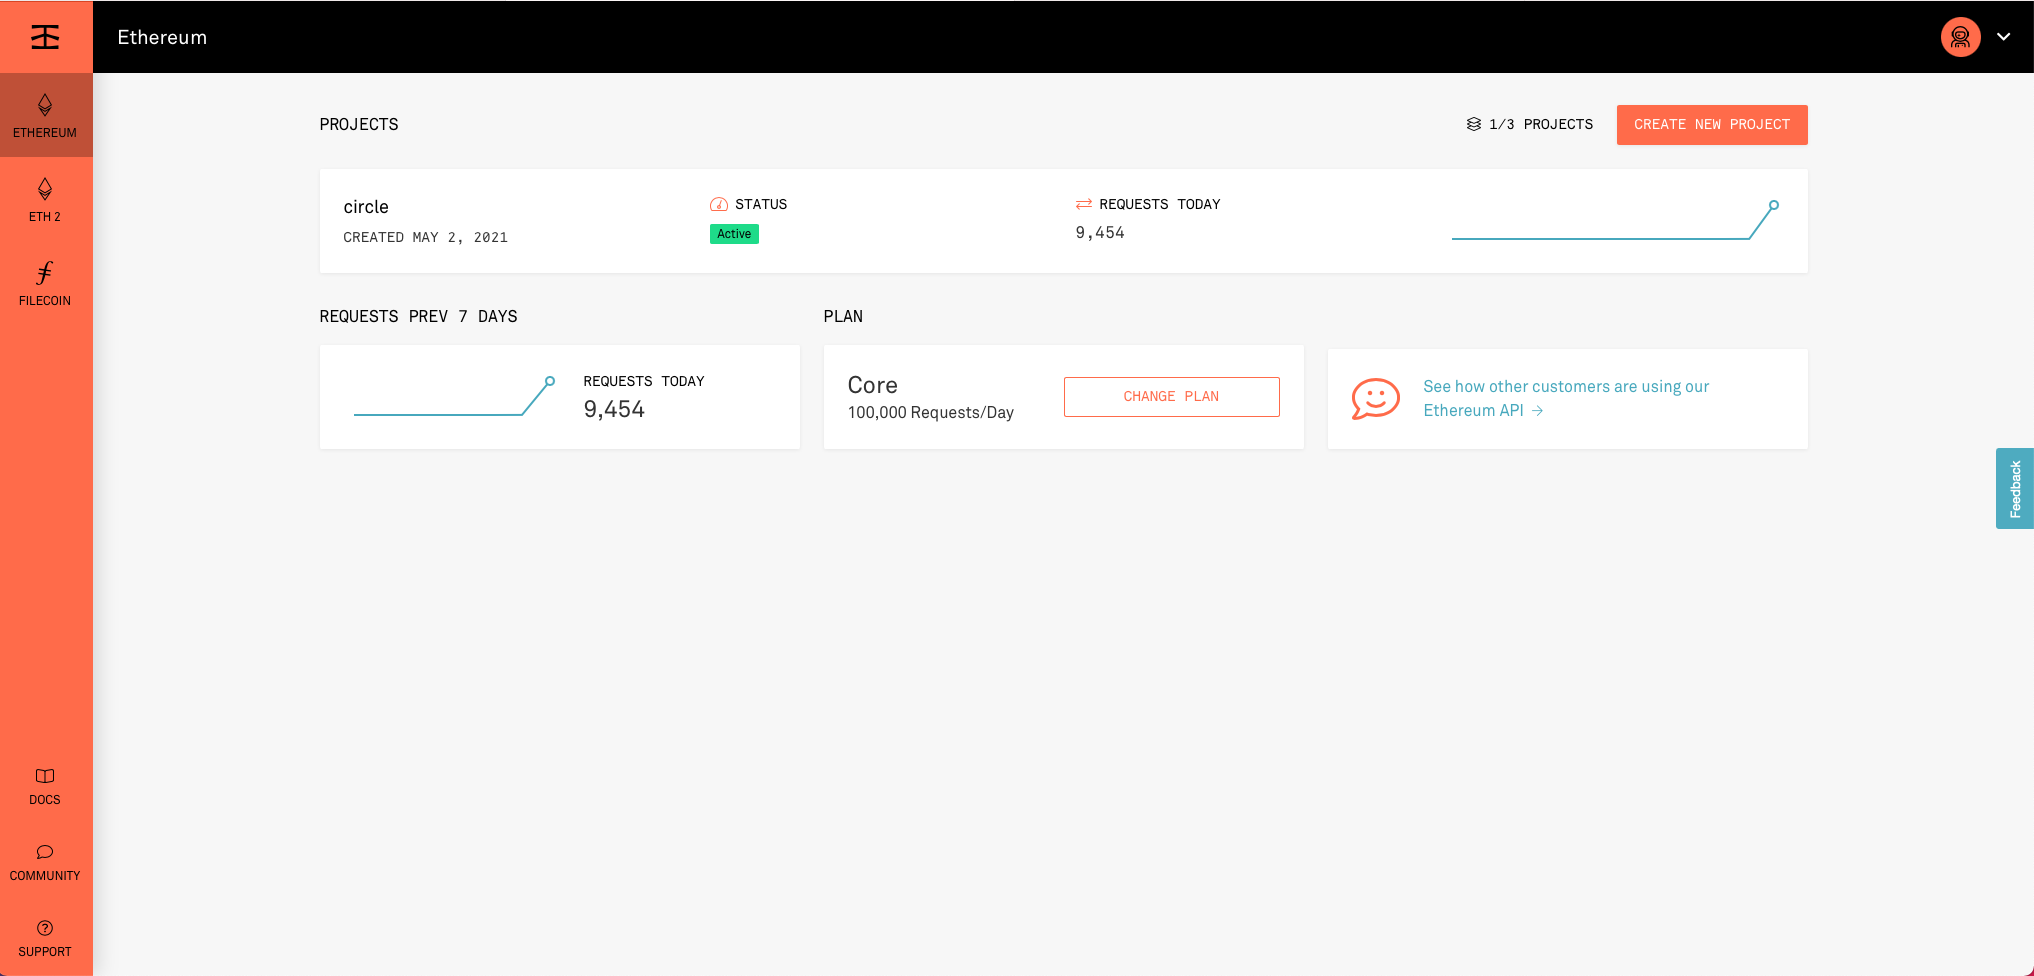
Setting up Infura
The first thing to do is make an infura account and create a new project.
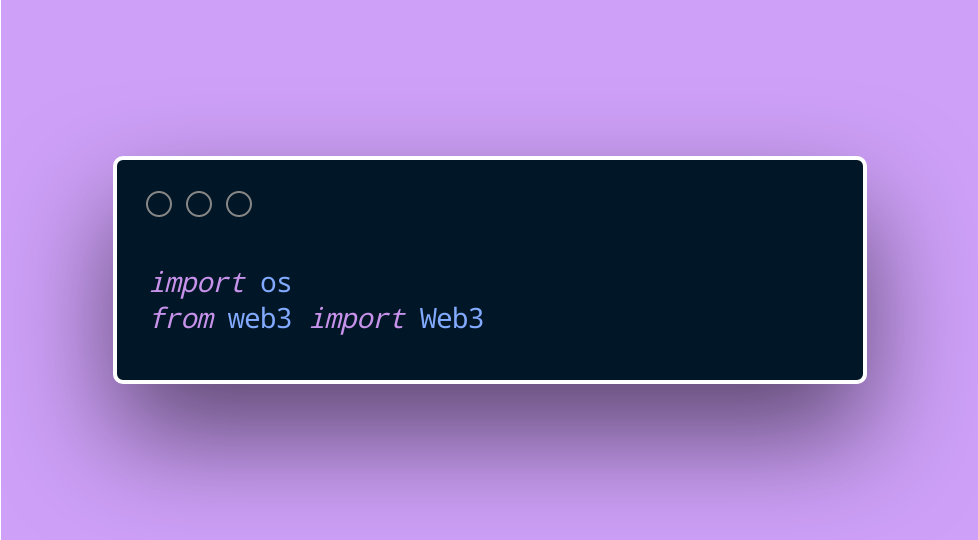
Dependencies
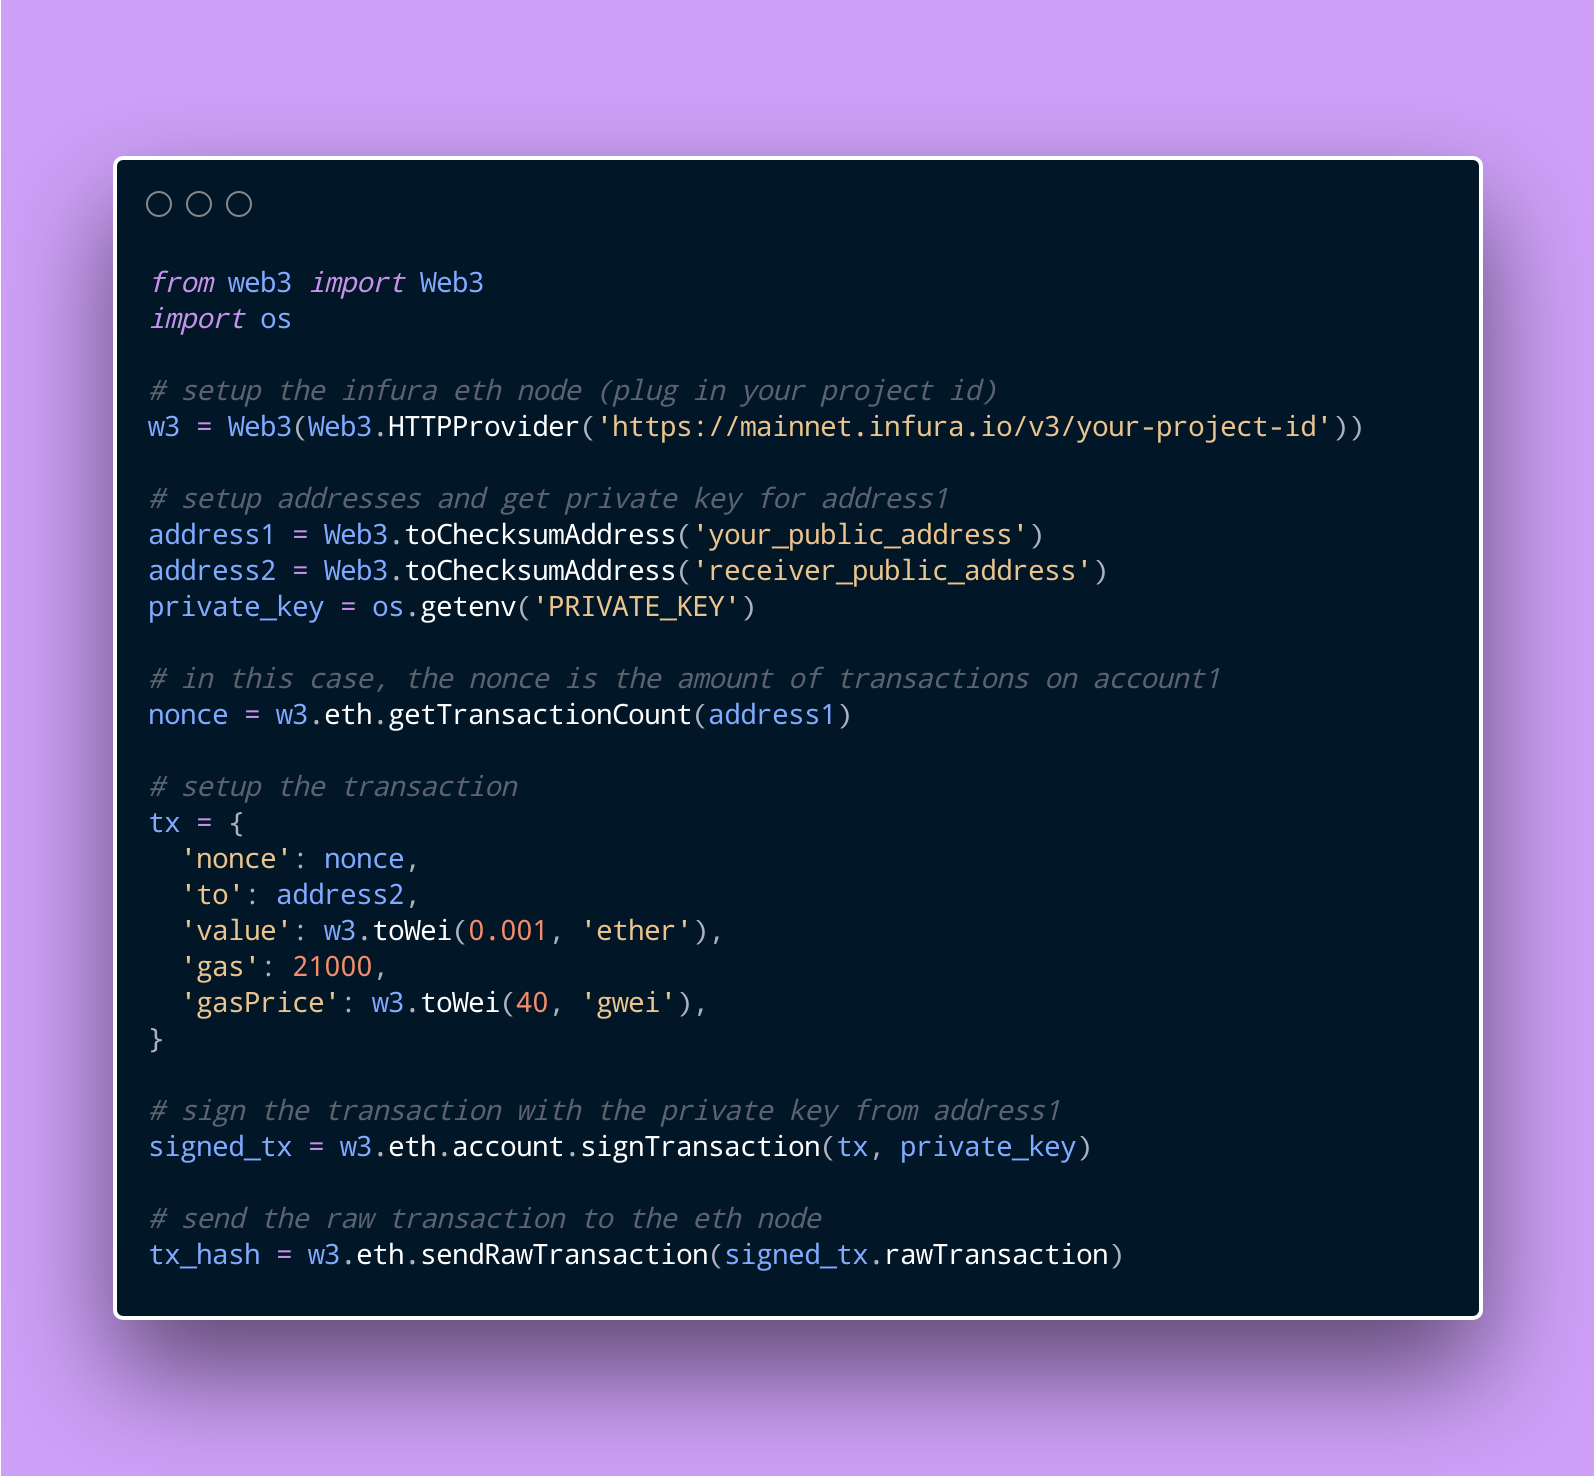
Create a new Python repl and name it whatever you'd like. In main.py, we only need to import two things:
web3- The Python Ethereum Library we use to talk to the Ethereum nodeos- We use this to retrieve our secrets:os.getenv('MY_SECRET')
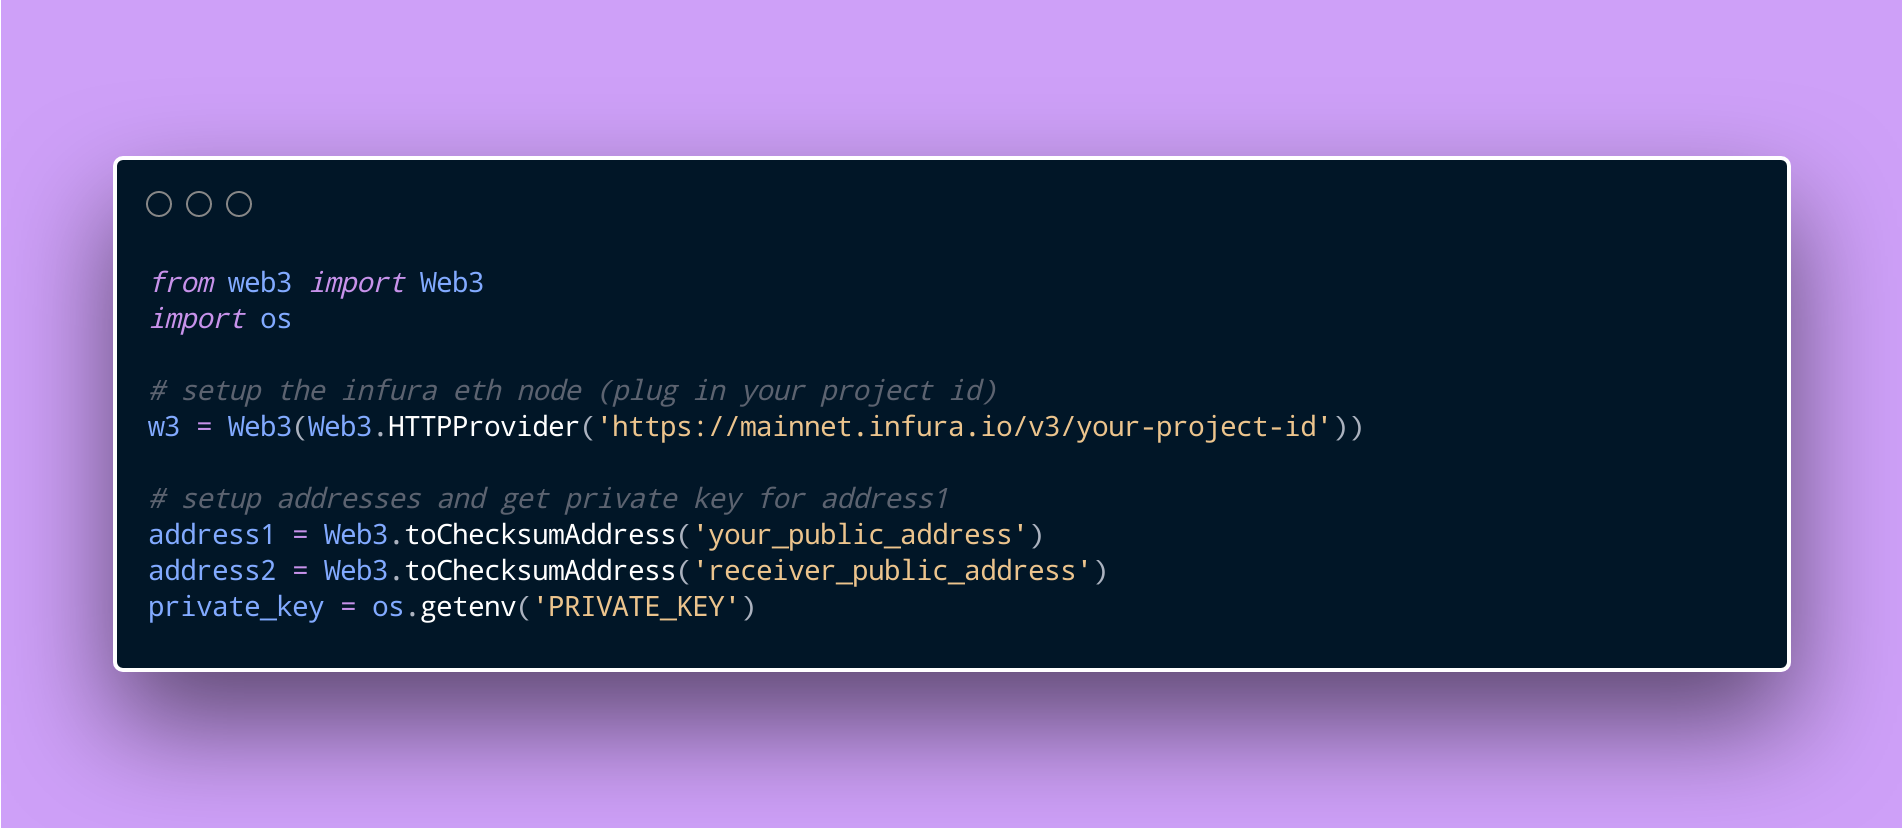
Connecting to Infura
Now that we've imported web3, we'll want to initialize a Web3 object. To initialize this object, we'll have to pass it one parameter.
If you've setup with Infura, all you have to do is go to the Infura Project Settings and copy the https endpoint. It looks something like: https://mainnet.infura.io/v3/<project-id>
Here's the code to initialize a Web3 object using Infura:

You can use the following code snippet to test that your code is connected to the Infura node:

Setting up addresses:
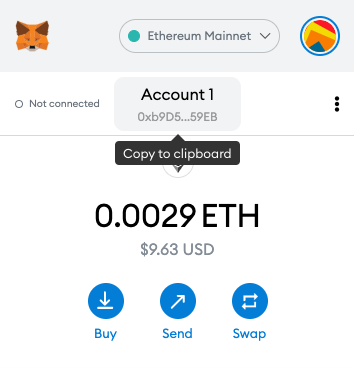
Next we need to get the public wallet addresses of the sender and the recepient. If you don't have a crypto wallet, the easiest way to create one is to use metamask. Once you've made your account, you'll want to copy your public wallet address. You can see your public wallet address if you open Metamask.
The .toCheckSumAddress() method is used to make sure there is no data corruption in the address string. It's an extra security measure. Read more about what a checksum address is here.
Getting your private key:
WARNING: nobody should ever see your private key except you. Do not put your key in public code or share it with anyone. You'll want to store it in the secrets tab. Your private key is used to "sign" the transaction. Signing the transaction means that you authorize the money to go from wallet1 (your wallet) to wallet2 (someone elses wallet). To learn about how to retrieve your private key from Metamask, check out this link.
Create the transaction
The next thing we'll do is get the nonce and define the transaction.
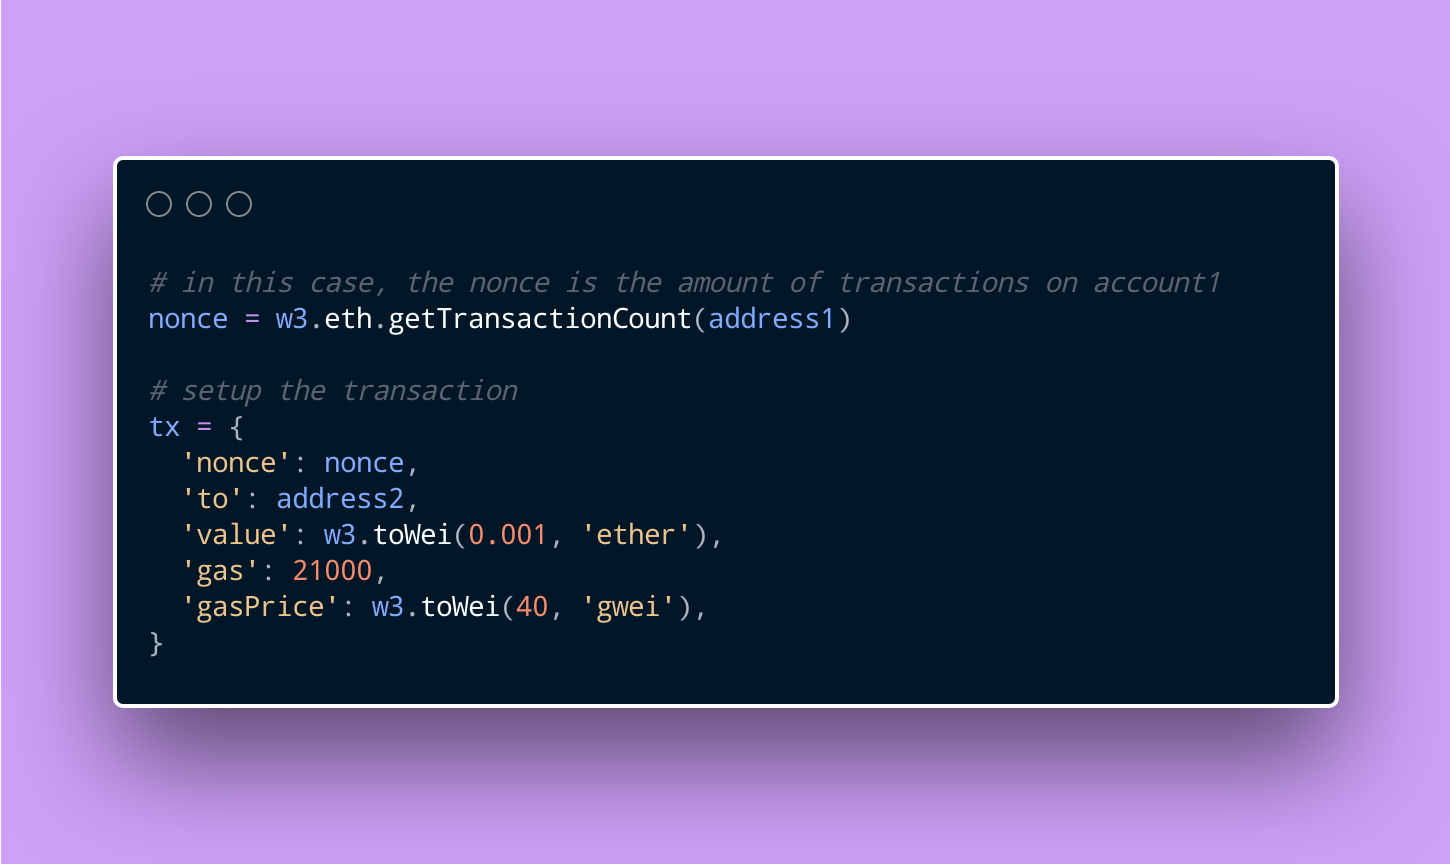
The most important key here is value. This is how much ETH we are going to send to address2.
Similarly to how the US Dollar can be split into 100 pennies, one Ether can be split into 10^18 Wei. We use the .toWei() method to easily convert ETH to Wei. In this case, .001 ether is roughly equal to $3 USD (at time of writing).
What is "gas" in this context?
On the Ethereum blockchain network, we have to send "gas" whenever we make transactions. Gas is measured in gwei. 1 ether = 10^9 gwei.
Gas prices range anywhere from 20 - 200 gwei. You can see the current gas prices here. With future blockchain innovations, it's likely that the gas prices will significantly decrease. (Zero Knowledge Proofs + ZK Rollups)
Sending the transaction:
Sending and signing the transaction is easy.
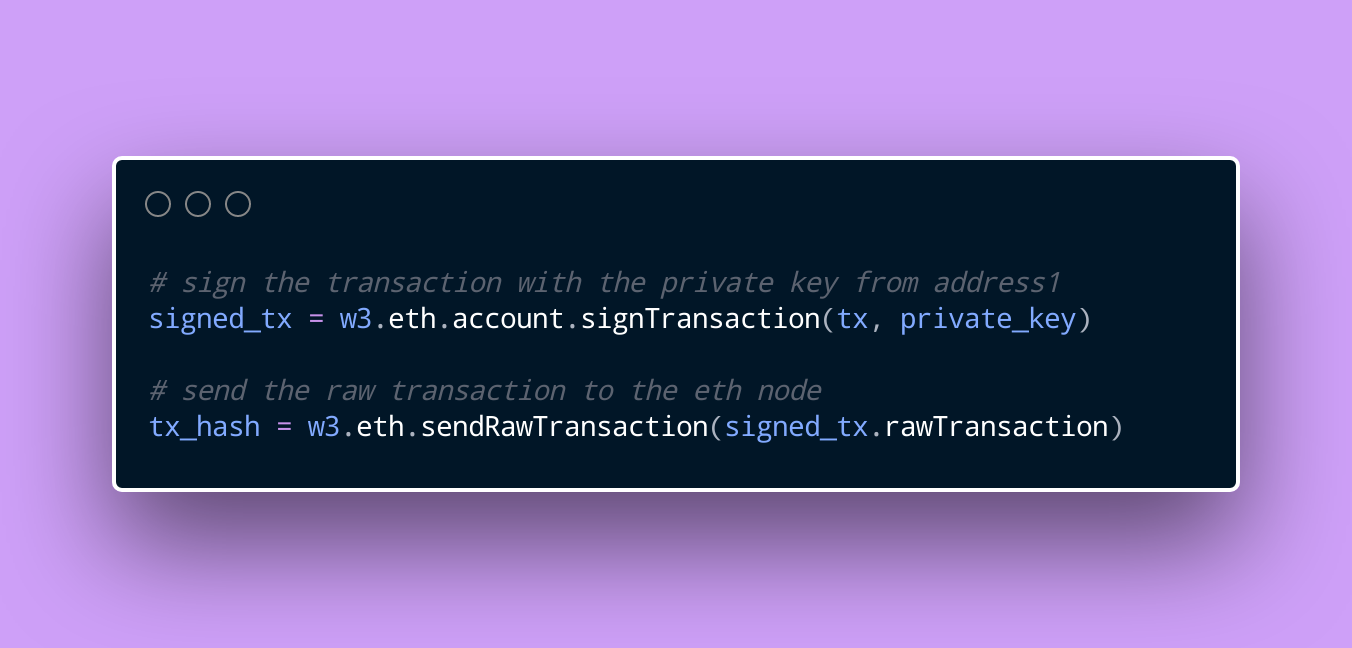
The .sendRawTransaction() method initiates the transaction! Assuming there are no errors, you will be able to see your transaction on etherscan by pasting your public wallet address. Example transaction between Soren and Justin at this link.
Full template:
You can fork this template at https://replit.com/@SorenAtReplit/ETH-Wallet-Transaction#template.py